Problem Overview
Video Tutorial
Overview
In line with ITIL standards, Problems have been included in versaSRS as an individual component separate from Cases or RFC's though they share many attributes.
A Problem is defined as "the unknown cause of one or more incidents".
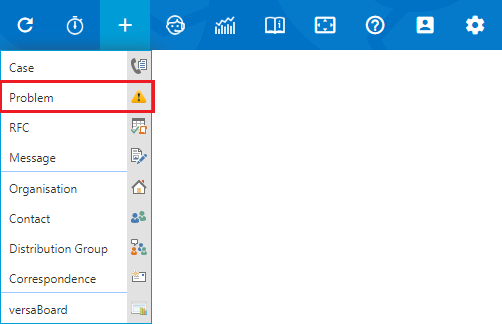
Problem records can be created by selecting the New item icon on the Navigation Header and Problem from the listed choices.
A Problem has a required set of fields and a number of possible actions that can be performed. To create a new Problem, only the mandatory fields (denoted by a * in the below tables) must be completed before the Problem can be created. Problems can be edited at any time.
For Users to be able to create new or edit existing Problems they need to be assigned a Security Profile with the correct level of access.
Note: It is possible to change the default labels for the visible fields and the drop-down list values that are available within the Problem Tabs. Due to this those in your system may differ from those shown below.
Details
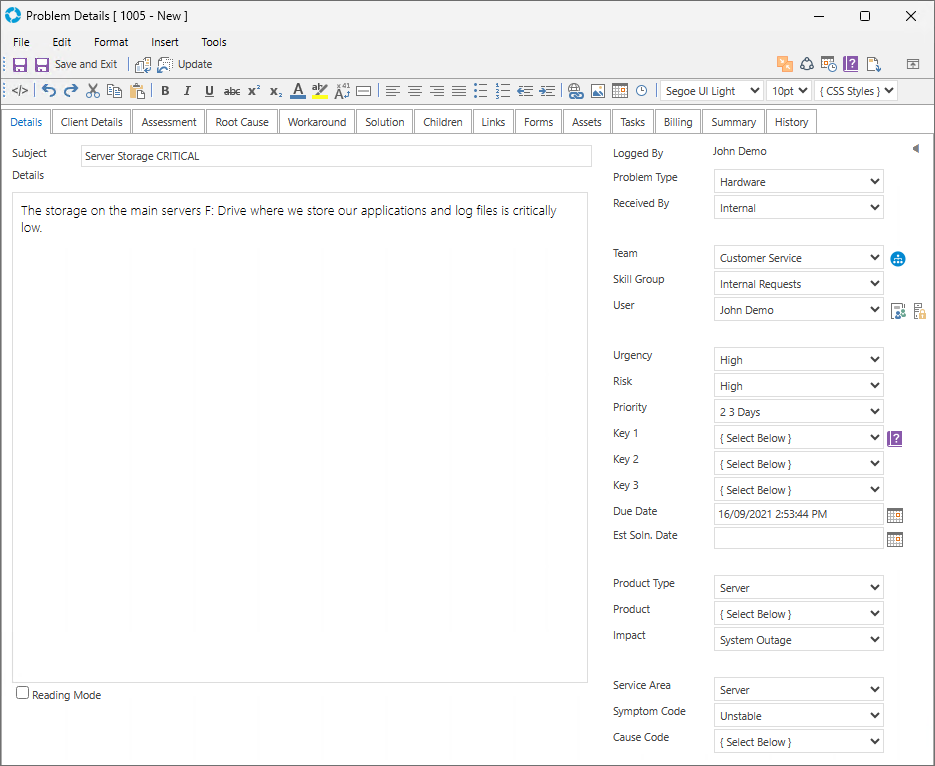
This tab is where the primary information about the Problem is contained and the categorisations set.
The fields/controls available in the Details tab are as follows:
| Field | Description |
|---|---|
| Subject * | The issue reported by Business personnel |
| Details | A more detailed description of the issue raised |
| Logged By | This field is automatically populated by the application with the details of the User who originally logged the Problem |
| Problem Type | The Type of Problem, selected from the drop-down options. You can add or edit the available Problem Types via the System Tables drop-down option Problem Type. |
| Received By | The method by which the Problem was received, populated from the drop-down options. You can add or edit the available Received By options via the System Tables drop-down option Case Received By. |
| Team * | The Team the Problem is assigned to, selected from available Teams in the drop-down list |
| Skill Group | The Skill Group that the Problem is assigned to, selected from available Skill Groups in the drop-down |
| User | The User the Problem is assigned to, selected from available Users in the drop-down list |
| Urgency | The Urgency of the Problem, selected from the drop-down list. You can add or edit the available Urgencies via the System Tables drop-down option Urgency. |
| Risk | The Risk of the Problem, selected from the drop-down list. You can add or edit the available Risks via the System Tables drop-down option Risk. |
| Priority * | The Priority assigned to the Problem (sets the required response/resolution time), selected from the available drop-down list options |
| Key 1 | The primary sorting qualifier for the Problem, selected from the available drop-down list options |
| Key 2 | The secondary sorting qualifier for the Problem, selected from the available drop-down list options |
| Key 3 | The tertiary sorting qualifier for the Problem, selected from the available drop-down list options |
| Due Date * | The date the Problem is due to be completed |
| Estimated Solution Date | An estimated solution date may be earlier or later than above |
| Product Type | The Product Type related to the Problem, selected from the available drop-down list options. You can add or edit the available Product Types via the System Tables drop-down option Product Type. |
| Product | The Product related to the Problem, selected from the available drop-down list options. You can add or edit the available Products via the System Tables drop-down option Product. |
| Impact | Specifies the severity of the impact of the Problem, selected from the available drop-down list options. You can add or edit the available Impacts via the System Tables drop-down option Impact. |
| Service Area | The Service Area to which the Problem relates, selected from the available drop-down list options. You can add or edit the available Service Areas via the System Tables drop-down option Service Area. |
| Symptom Code | Specifies the type of symptom related to the Problem, selected from the available drop-down list options. You can add or edit the available Symptom Codes via the System Tables drop-down option Symptom Code. |
| Cause Code | Specifies the cause related to the Problem, selected from the available drop-down list options. You can add or edit the available Cause Codes via the System Tables drop-down option Cause Code. |
The icon functionality available is as follows:
| Icon | Description |
|---|---|
Queue Work Load  |
Shows the current work load (amount of Problems assigned) for each User in the Team |
Watchers  |
Shows the current Watchers assigned to the Problem |
Access Rights  |
Deny/Grant access to the Record for specific Users that are in the Team |
KnowledgeBase Key Sets Search  |
Automatically searches the Knowledge Base for articles that match the selected Key Set |
Calendar  |
Allows you to set/change the Due Date and Est. Soln Date |
For information about the icons available on the Problem Toolbar please click here.
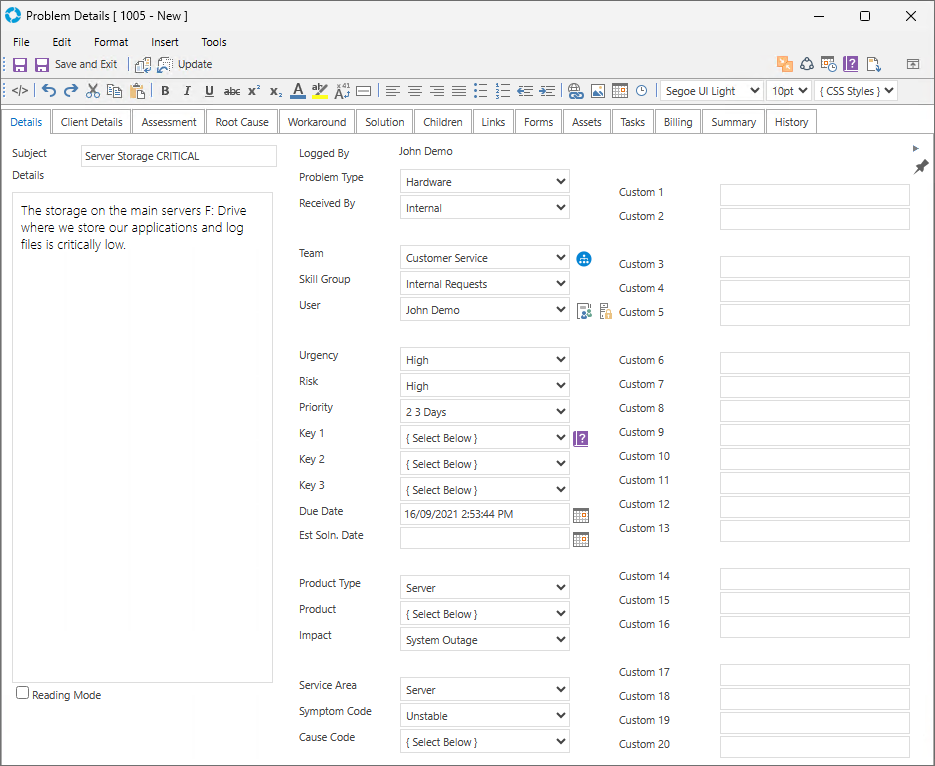
There are also custom fields which are hidden and can be displayed via the "Expand for more options" arrow next to the Logged By field.
These fields can be used to store additional data, making them easy to report on using the Reporting Dashboard.
Client Details
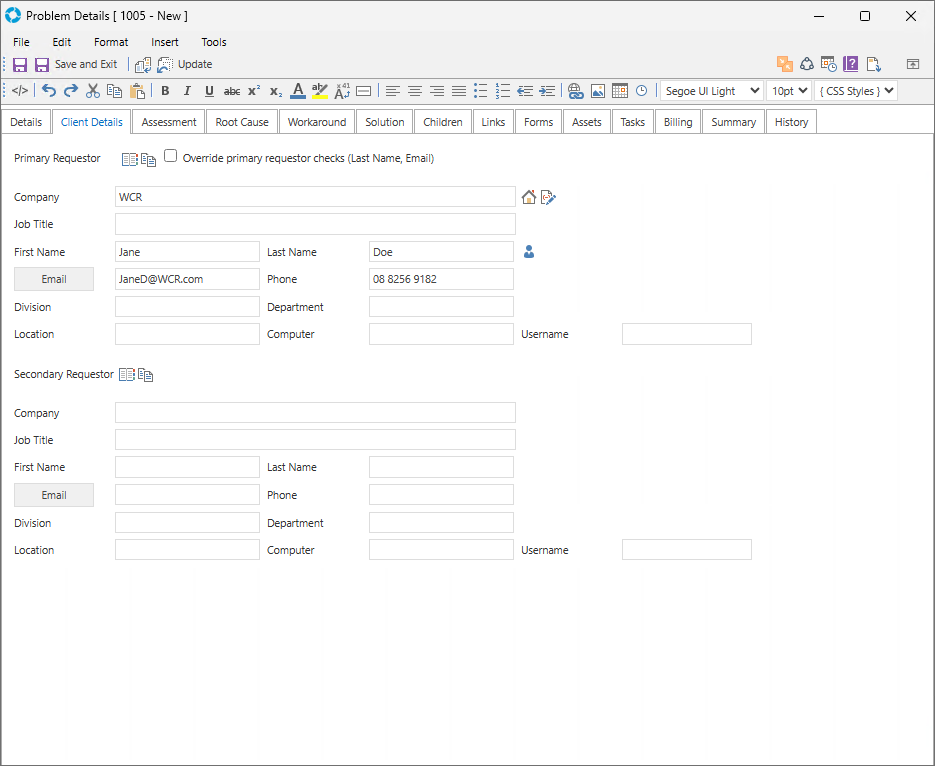
This tab contains the Client Details of the Primary and Secondary Requestors for the Problem. These details can be selected from the versaCRM and all available fields auto-filled.
The fields in the Client Details tab are as follows:
| Field | Description |
|---|---|
| Company | The Company that the Requestor is from |
| Job Title | The job title of the Requestor |
| First Name * | The Requestor's first name |
| Last Name * | The Requestor's surname |
| Email * | The Requestor's email address |
| Phone | The Requestor's phone number |
| Division | The Requestor's division within the Company |
| Department | The Requestor's department within the Company |
| Location | The Requestor's location |
| Computer | The name of the Requestor's computer |
| Username | This field relates to the VIPTag and VIPColor Application Property fields in the Global Settings. When the VIPTag and VIPColor fields are defined in the Global Settings, and the VIPTag text is entered into the Username field of the Problem, the Requestor's name will appear bold and coloured in the Problem listing. |
The icon functionality available is as follows:
| Icon | Description |
|---|---|
Add Contact  |
If the Primary Requestor is not a known versaCRM Contact this icon will be displayed allowing you to quickly create a versaCRM Contact record for them |
Browse Contacts  |
Brings up the Address Book allowing you to search for and select the Requestor automatically inputting all relevant fields |
Copy Requestor  |
Copies the Primary Requestor details to the Secondary Requestor details or vice versa |
Clear Information  |
Removes all information from the Requestor fields |
Go to Organisation  |
If the Company field contains an existing versaCRM Organisation clicking this icon will take you directly to the record |
Billable Times  |
Displays calculated overview of the current Billable totals for all Problems belonging to the Organisation for the current Year/Month/Week |
Go to Contact  |
Takes you directly to the Requestors versaCRM Contact record |
Assessment
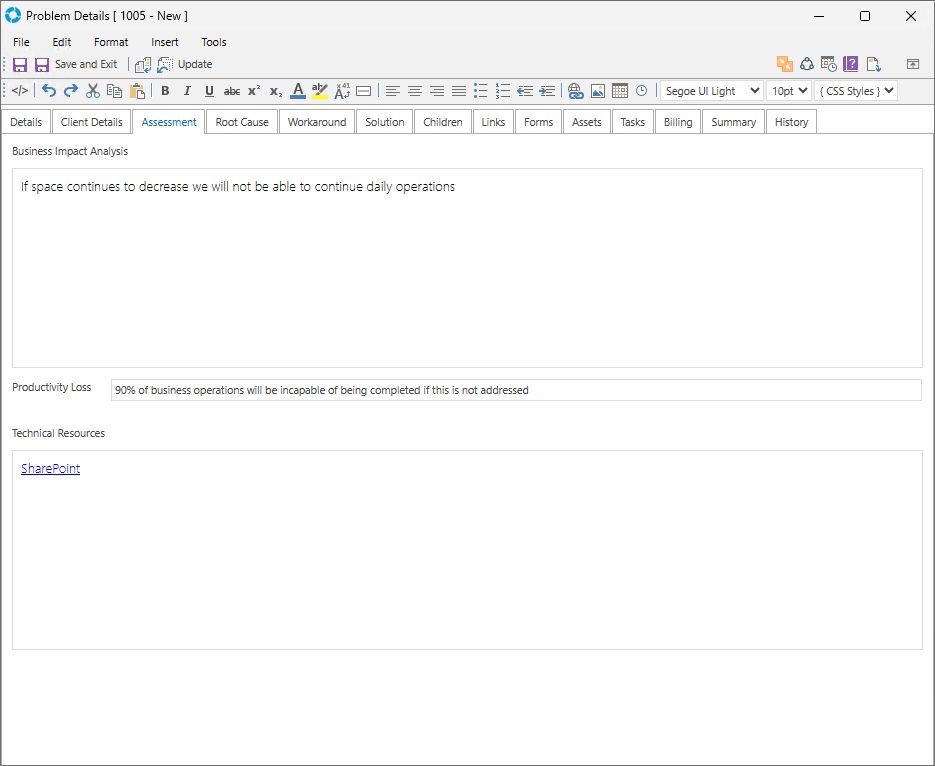
This tab is for Assessment purposes and allows the recording of key factors related to the Problem.
The fields in the Assessment tab are as follows:
| Field | Description |
|---|---|
| Business Impact Analysis | This field allows entry of the Business Impact Analysis (BIA) related to the Problem |
| Product Loss | This field allows entry of the Product Loss related to the Problem |
| Technical Resources | This field allows entry for the Technical Resources relevant to the Problem |
Root Cause
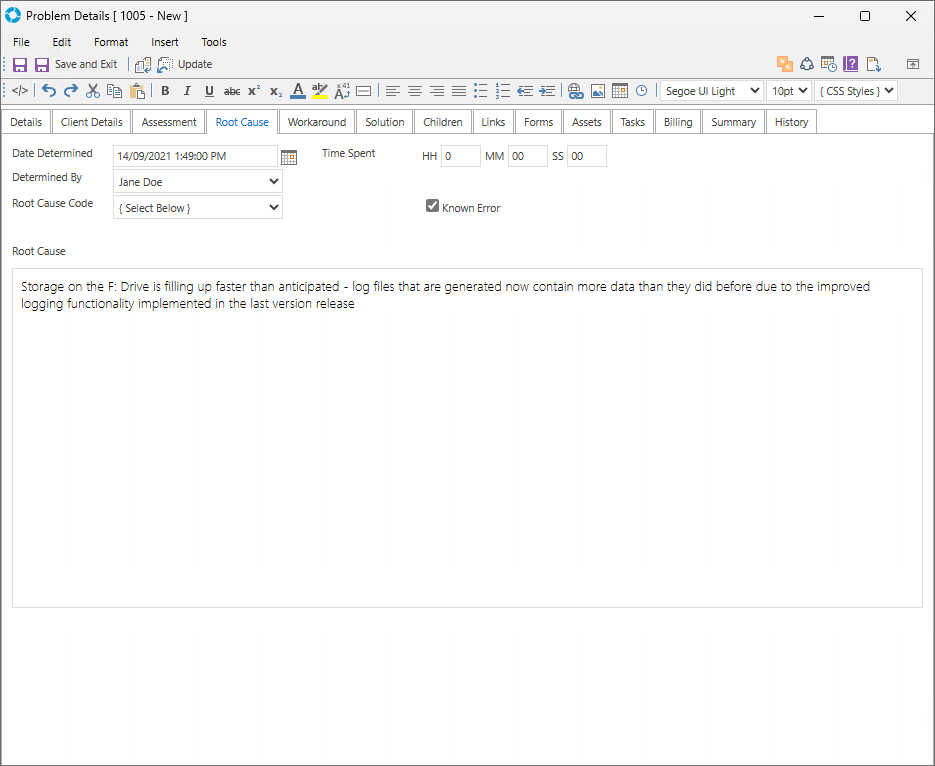
This tab is where the Root Cause of the Problem is recorded.
The fields in the Root Cause tab are as follows:
| Field | Description |
|---|---|
| Date Determined | The date when the Root Cause of the Problem is determined |
| Time Spent | Time spent determining the Root Cause of the Problem |
| Determined By | The User that determined the Root Cause of the Problem |
| Root Cause Code | The category of the Root Cause of the Problem. You can add or edit the available Root Cause Codes via the System Tables drop-down option Root Cause Code. |
| Known Error | If checked, indicates that the Root Cause is a Known Error |
| Root Cause | Text field allowing entry of the Root Cause details |
Workaround
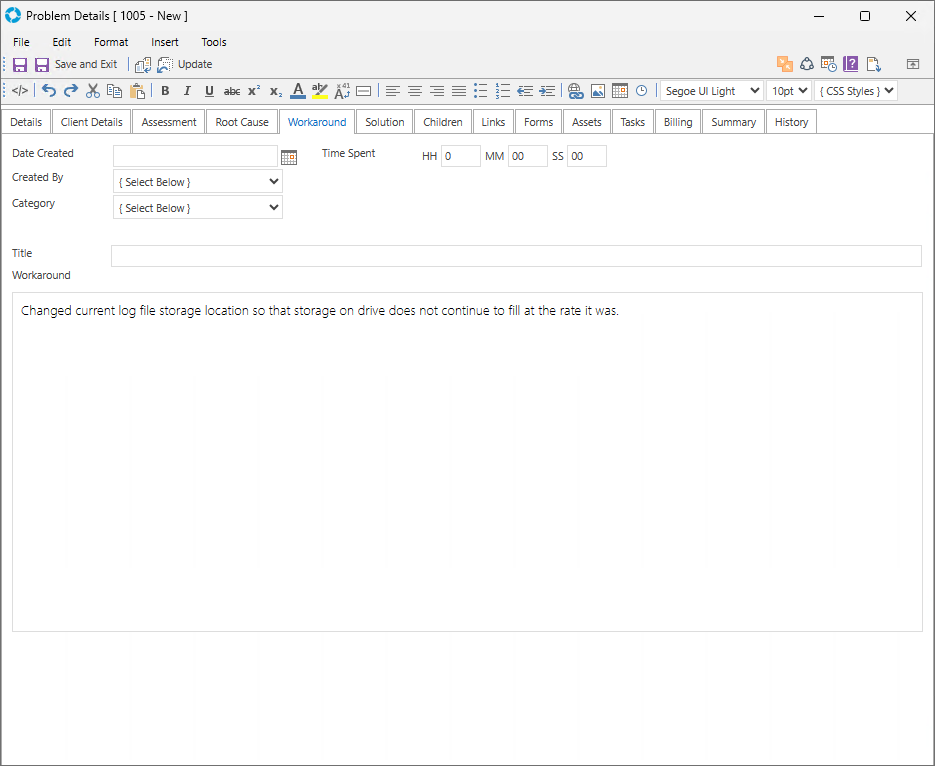
This tab is where the Workaround for the Problem is recorded. A Workaround is defined as reducing or eliminating the impact of a Problem for which a full resolution is not available.
The fields in the Workaround tab are as follows:
| Field | Description |
|---|---|
| Date Created | The date when the Work Around of the Problem is determined |
| Time Spent | Time spent determining the Work Around of the Problem |
| Created By | The User that determined the Work Around of the Problem |
| Category | The category of the Work Around of the Problem. You can add or edit the available Workaround Categories via the System Tables drop-down option Workaround Category. |
| Title | The title of the Work Around |
| Workaround | Text field allowing entry of the Work Around details |
Solution
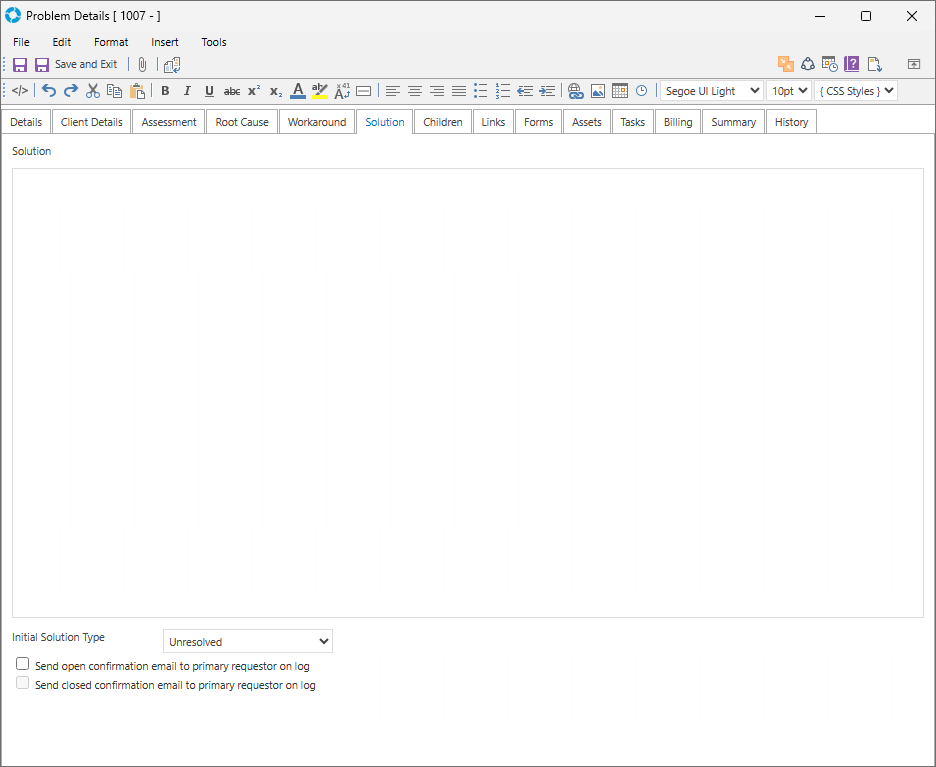
This tab contains the Solution of the Problem. This allows a Solution to be entered and viewed easily by Users.
The fields/controls in the Solution tab are as follows:
| Field/Control | Description |
|---|---|
| Solution | Allows the solution of the Problem to be entered |
| Initial Solution Type | Depending on what is selected it will enable or disable the Send Open/Closed confirmation checkboxes to suit the circumstance. Only applies when creating New Problems. There are three selections available which are Not Resolved, Workaround and Resolved. |
| Send open confirmation checkbox | Checking this will cause the Open Confirmation email (set in the Team Settings) to be sent when the Problem is logged. Only applies when creating New Problems only and the Initial Solution Type is set to either Not Resolved or Workaround. |
| Send closed confirmation checkbox | Checking this will cause the Closed Confirmation email (set in the Team Settings) to be sent when the Problem is logged/closed. Only applies when creating New Problems and the Initial Solution Type is set to Resolved. |
Children
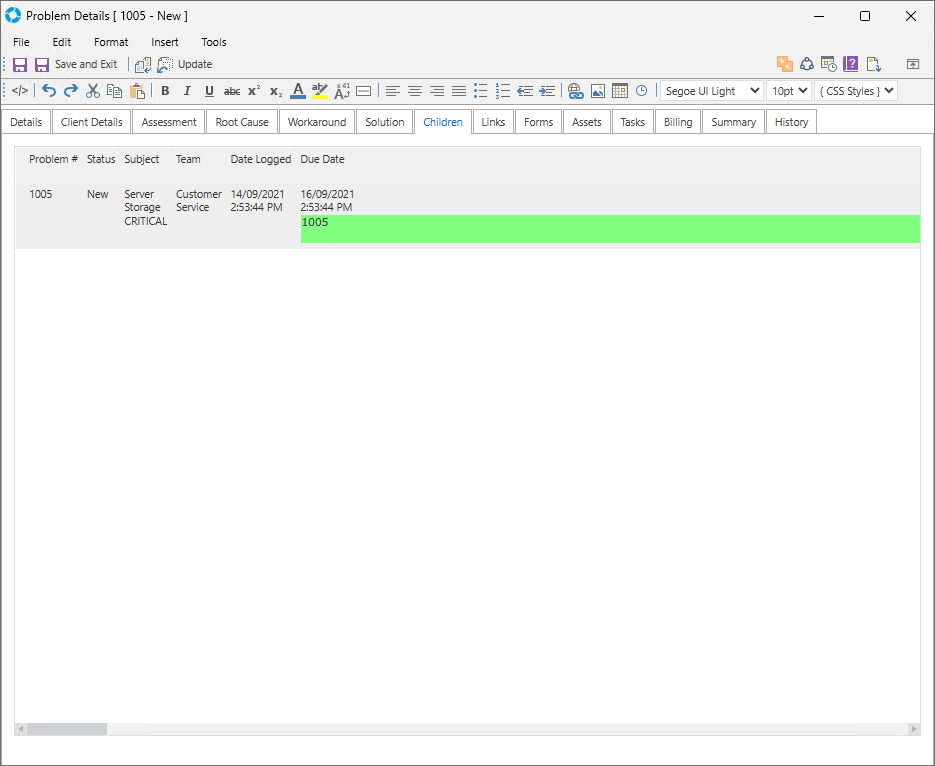
This tab contains the list of Problems which have been made a Child or Parent of the Problem.
Double clicking the record will take you to the Parent/Child Problem. A Parent/Child link can be created by right-clicking on the Parent Record listing and selecting Tools >> Link to Child from the menu.
Links
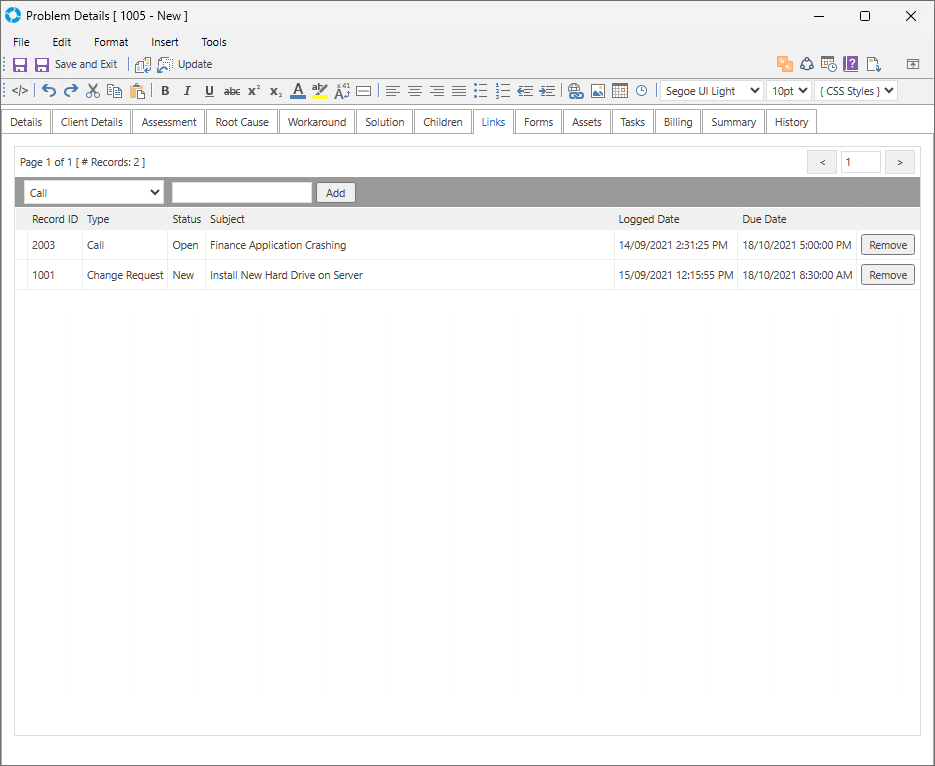
This tab allows the creation of a link between Problems, Cases, and RFC's as well as showing the current links already established.
Unlike a Child/Parent relationship a Link does not have to be of the same record type (i.e. Case, Problem, RFC) and is just a connection between two or more entities with no implied hierarchy.
The fields/controls in the Links tab are as follows:
| Field/Control | Description |
|---|---|
| Page left and right arrows | Changes page if the number of links on the Problem require multiple pages to display |
| Record Type drop-down | The type of Record that is to be added (i.e. Case, Problem, RFC) |
| Record ID field | Text field to input the numeric ID of the Record that is to be linked to the Problem |
| Add button | Adds the Record that has been specified in the previous two fields |
| Remove button | Removes the selected linked Record from the Problem |
Forms
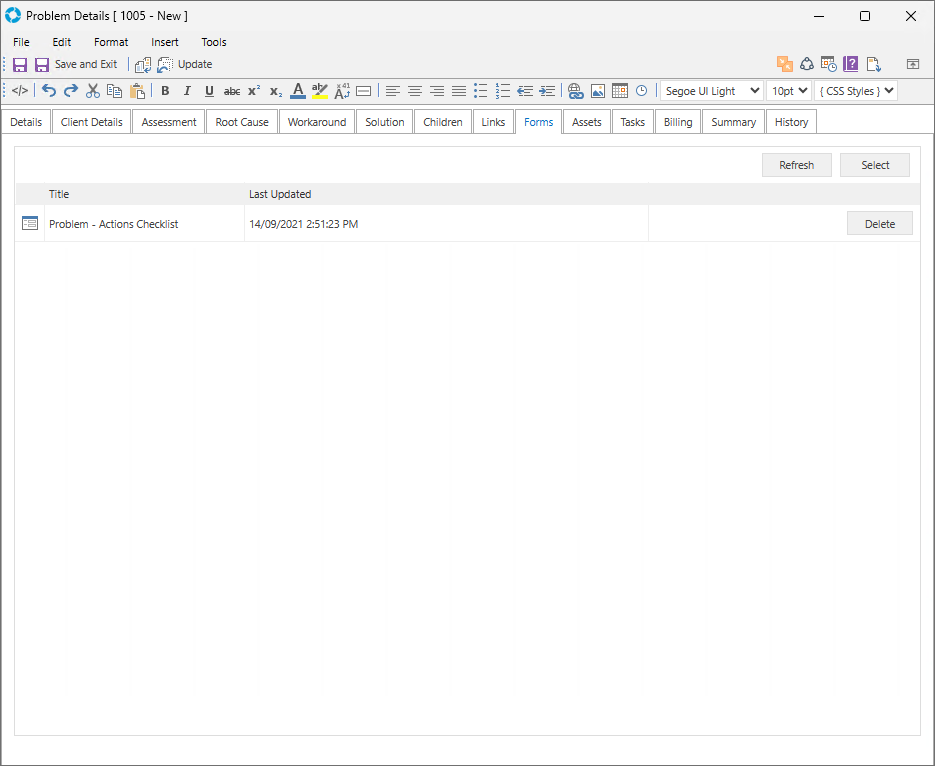
This tab maintains a record of all Forms that have been associated with the Problem.
The controls in the Forms tab are as follows:
| Control | Description |
|---|---|
| Refresh button | Refreshes the page showing the most up to date display of the Forms within the Problem |
| Select button | Allows selection of a Form to add to the Problem |
| Delete button | Removes the Form from the Problem |
Assets
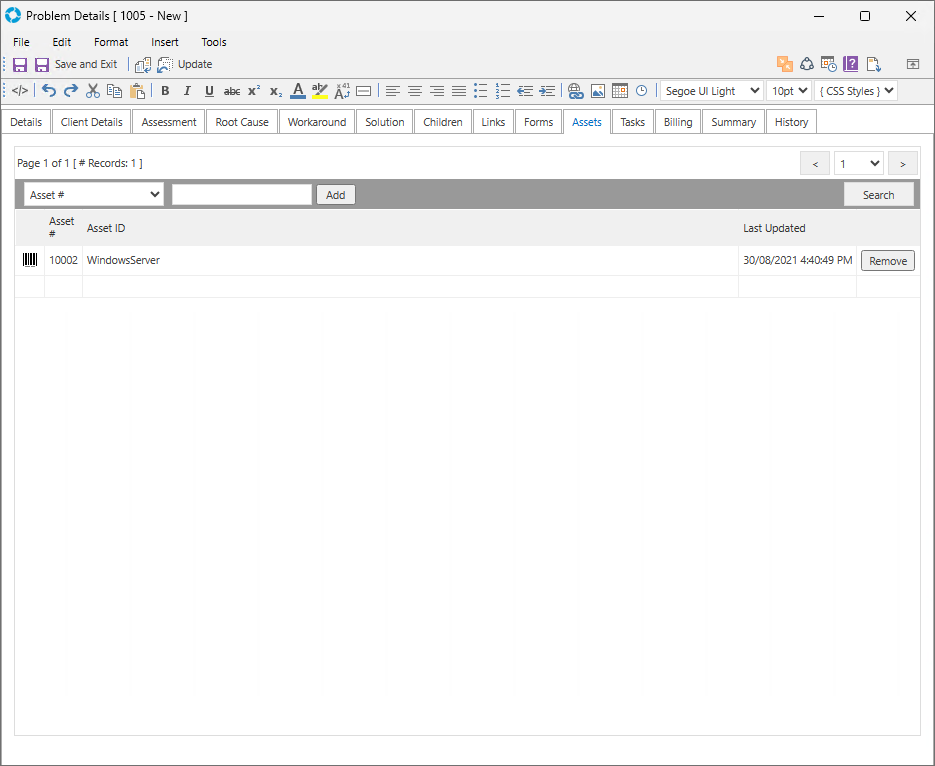
This tab allows the linking of an Asset to a Problem as well as showing the current Assets that are already linked.
The fields/controls in the Assets tab are as follows:
| Field/Control | Description |
|---|---|
| Page left and right arrows | Changes page if the number of Assets on the Problem requires multiple pages to display |
| Asset ID drop-down | This drop-down list allows the selection of the Asset reference type that will be used to link the Asset |
| Asset ID field | Text field to input the numeric ID of the Asset that is to be linked to the Problem |
| Add button | When the ID has been entered the User can click Add to link the Asset to the Problem |
| Search button | This can be used to search for Assets that have been created in the system |
| Remove button | Removes the Asset from the Problem |
Tasks
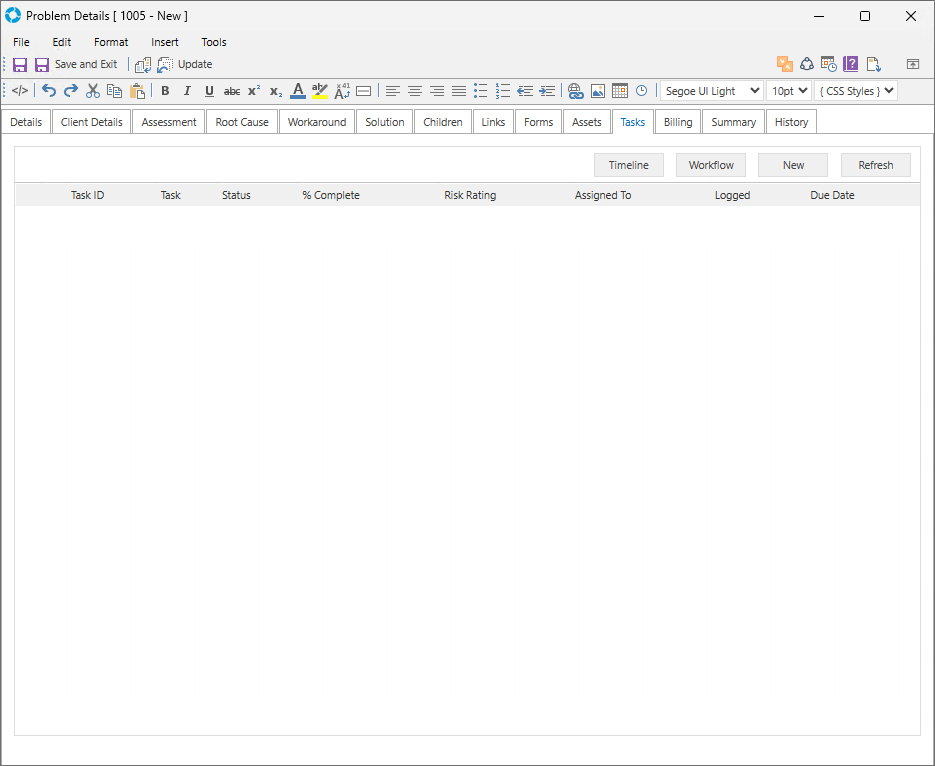
This tab allows the creation of Tasks as well as listing all of the Tasks that have already been created for a Problem.
The options in the Tasks tab are as follows:
| Option | Description |
|---|---|
| Timeline | Clicking this will display a timeline of the Tasks against the Problem |
| Workflow | Allows Tasks to be added as Workflow Tasks, meaning that they are sequential Tasks that need to be completed in order |
| New button | Allows creation of a new Task to add to the Problem |
| Refresh button | Refreshes the page showing the most up to date display of the Tasks in the Problem |
Billing
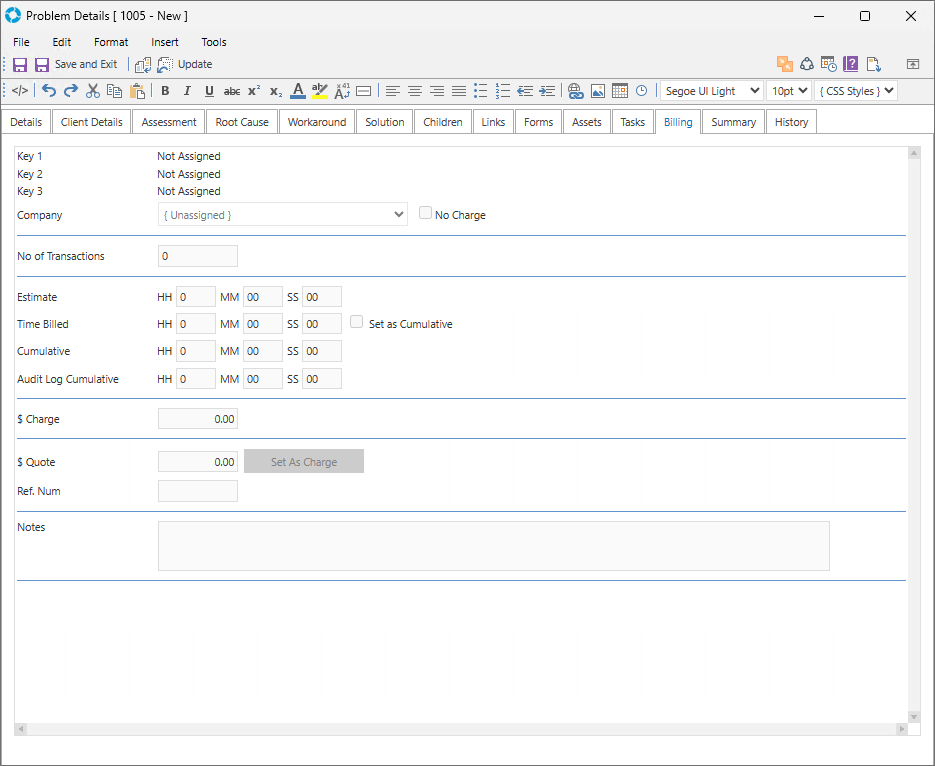
This tab allows Billing information to be entered. Billing information can only be edited by performing a Problem Update.
The fields/controls in the Billing tab are as follows:
| Field/Control | Description |
|---|---|
| Company | This drop-down allows the selection of the Primary or Secondary Requestor to be used as the Company to which the billing applies |
| No Charge | Specifies if work done on the Problem is not to be charged for the Company |
| No of Transactions | Allows the User to enter the number of transactions that occur on the Problem |
| Estimate | Allows the User to enter an estimated time for resolution |
| Time Billed | Allows the User to enter the actual time that will be billed for a single transaction |
| Set as Cumulative checkbox | If checked, will set the Time Billed row as the Cumulative amount |
| Cumulative | Sums up the total amount of time worked on the Problem |
| Audit Log Cumulative | Aggregates the Log Time for Updates to a Problem |
| $ Charge | Specifies the amount charged for the Problem |
| $ Quote | Specifies the amount quoted for the Problem |
| Set As Charge | Sets the $ Quote amount to be the $ Charge amount |
| Ref. Num | The billing reference number related to the Problem |
| Notes | Allows the User to enter plain text notes |
Summary
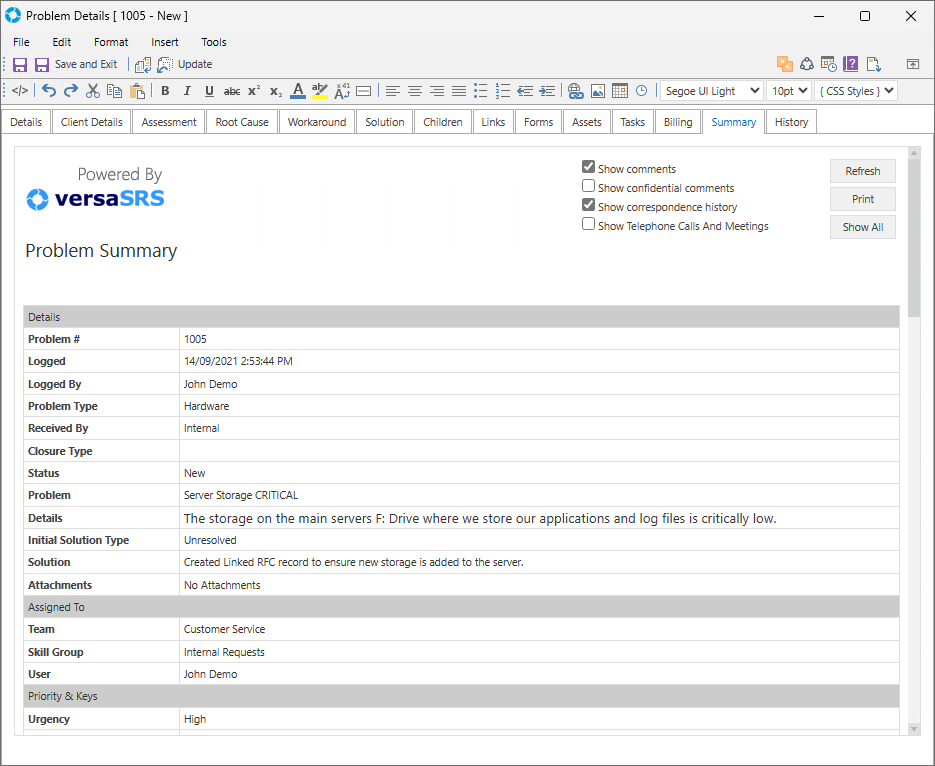
This tab shows the Printer Friendly view and is a summary of the main details and correspondence for the Problem.
The controls in the Summary tab are as follows:
| Control | Description |
|---|---|
| Show comments checkbox | If checked, will display Comments made within the Problem in the Summary view |
| Show confidential comments checkbox | If checked, will display Confidential Comments made within the Problem in the Summary view |
| Show correspondence history checkbox | If checked, will display the Correspondence History (email correspondence) within the Problem in the Summary view |
| Show Telephone Calls And Meetings | If checked, will display the Telephone Calls and Meetings within the Problem in the Summary view |
| Refresh button | Refreshes the page to display the most up to date representation of the Summary view. If checking or unchecking the display options you need to click Refresh to see the change |
| Print button | Prints the Summary view |
| Show All button | Checks all of the display option fields and refreshes the page |
History
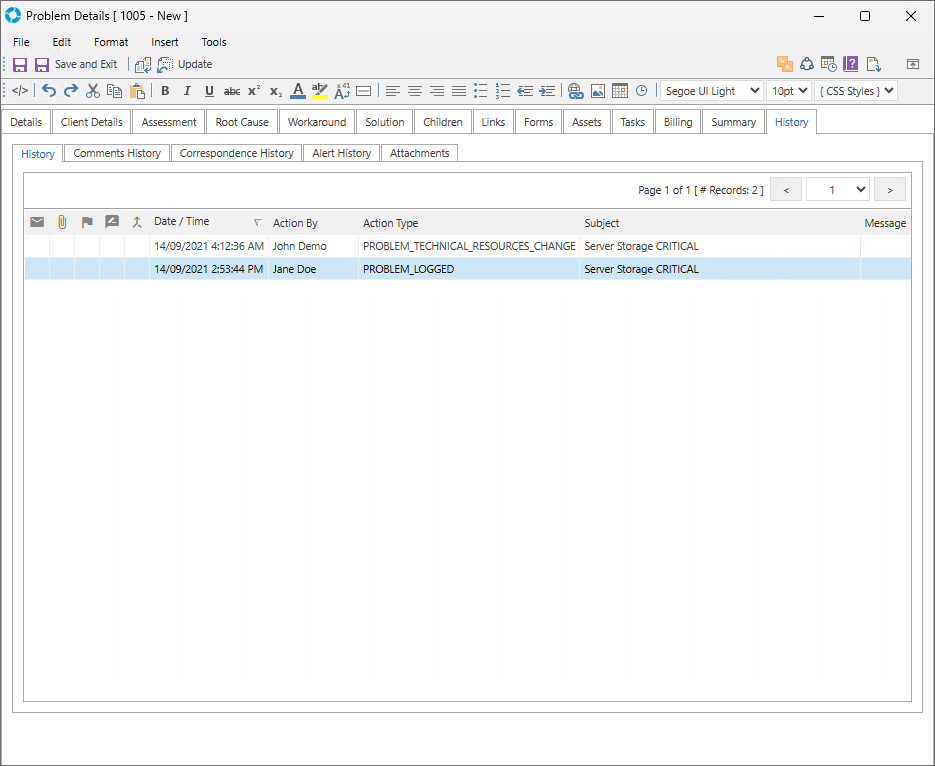
This tab contains the Audit history of the Problem.
There are five tabs within the History tab which are as follows:
| Tab | Description |
|---|---|
| History | This tab shows all of the available audit log history for the Problem |
| Comments History | This tab shows the audit log history for Comments only |
| Correspondence History | This tab shows the audit log history for Correspondence only |
| Alert History | This tab shows the audit log history for Alerts (i.e. Due Date Alert) only |
| Attachments | This tab shows all of the attachments on the Problem |