versaCRM
Video Tutorial
Overview
versaCRM is a flexible and powerful Customer Relations Management solution for storing and maintaining corporate Contacts and Organisations. versaCRM components can be accessed via the Navigation Sidebar My CRM icon (pictured below).
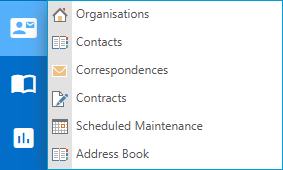
- Correspondences allow for communications to be sent without belonging to a Record.
- Contracts allow for creation and management of Contracts for specific Contacts or Organisations.
- Scheduled Maintenance can be applied for particular Contacts and Organisations, this can be handy to set reminders for things like independent contractor work ending or periodic purchases.
- The Address Book allows you to quickly search Contacts and create Cases with them as the Primary Requestor.