Contacts
versaCRM Contacts are used to store numerous details about a Business Contact. The Contact's basic information is stored in the Information section, which includes five tabs: General, Details, Administration, SRSConnect, and Social Media. If required you can add Custom Tabs that allow for storing of additional data.
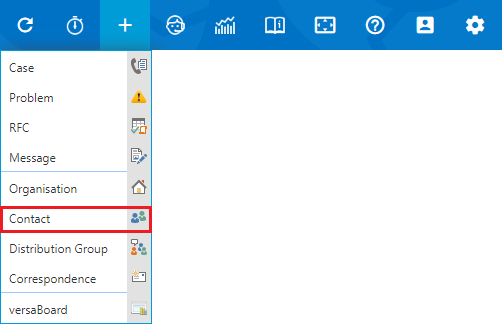
New Contacts can be added by selecting the Create New option on the Navigation Header and selecting Contact
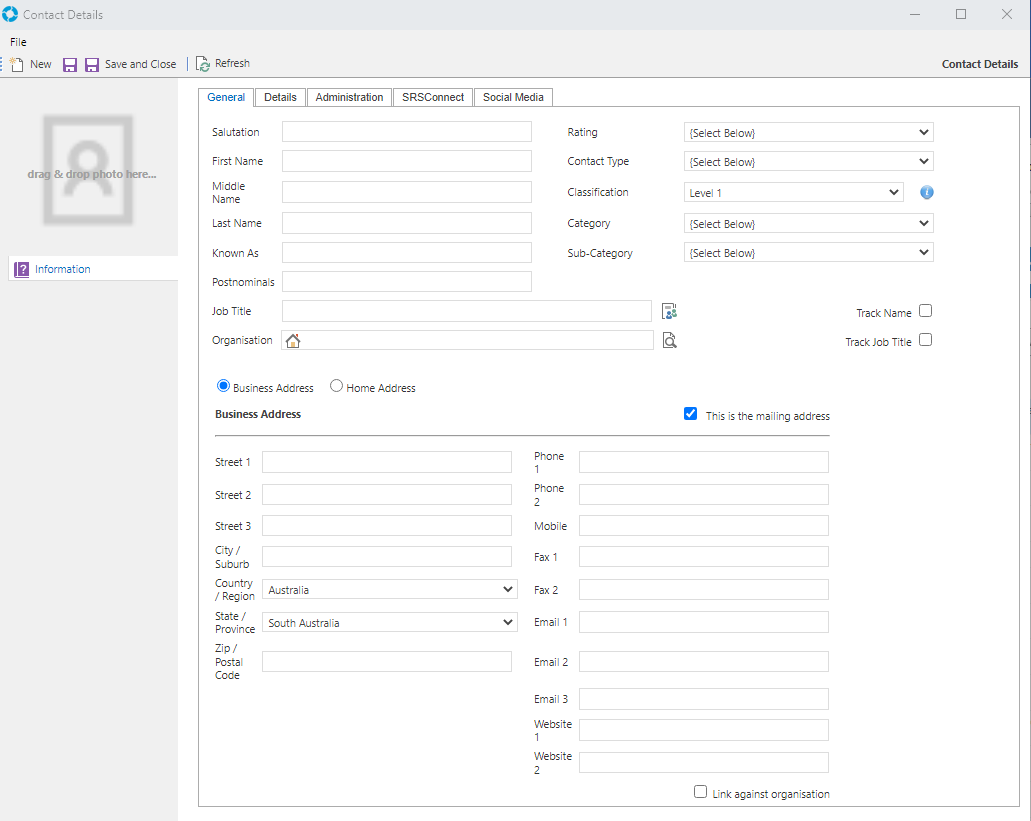
This will display the Contact Details window where the new Contact's details can be added and saved to versaCRM. Be sure to click the Save icon ( ) or Save and Close after filling in the required fields.
Note: New versaCRM Records can only be created by Users that have been assigned the Security Profile that is set for the Application Property DefaultCRMSecurityProfileID in the Global Settings.
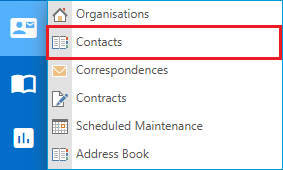
To view all Contacts in versaSRS select the Contacts option from the Navigation Sidebar My CRM icon as shown below. The available columns that display the Contacts information can be changed by enabling Custom Columns.
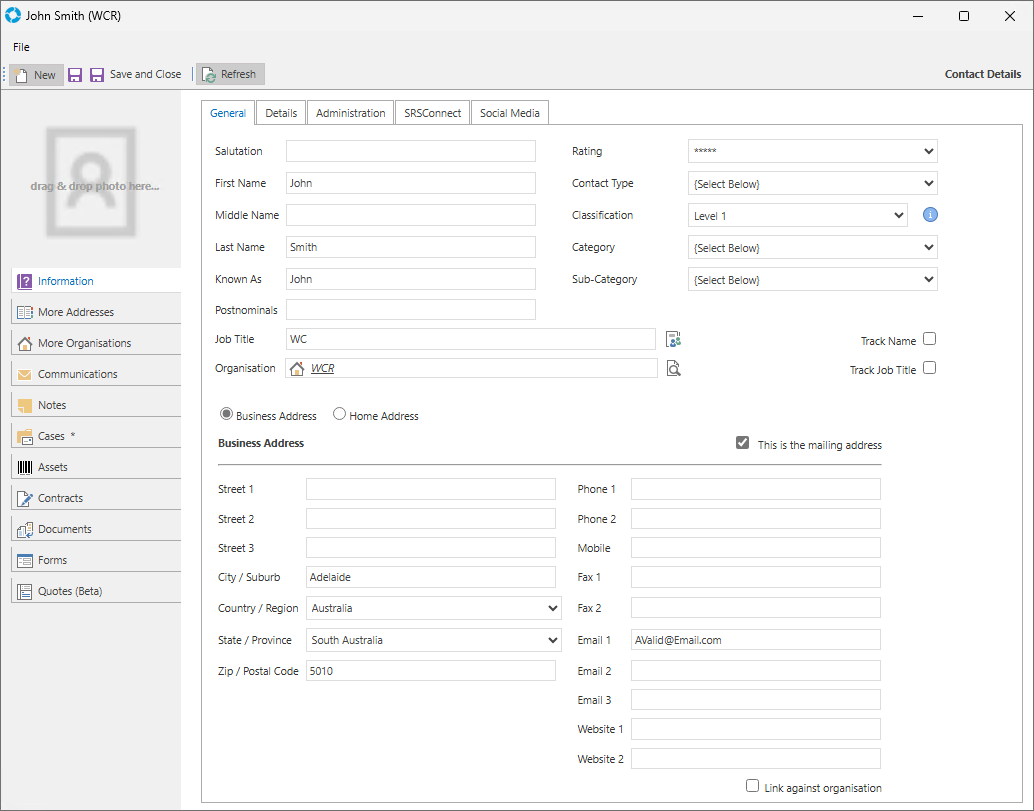
Note: It is possible to change the default labels for the visible fields and the drop-down list values that are available within the Contacts sections/tabs. Due to this those in your system may differ from those shown below.
General
Under the General tab you can enter the Contacts information. This area also allows linking to an Organisation and various levels of classification.
The fields/controls available in the General tab are as follows:
| Field/Control | Purpose |
|---|---|
| Salutation | The Salutation of the Contact e.g. Mr/Mrs |
| First Name | The First Name of the Contact |
| Middle Name | The Middle Name of the Contact |
| Last Name | The Last Name of the Contact |
| Known As | The Preferred Name of the Contact |
| Postnominals | The Postnominals of the Contact e.g. PhD |
| Job Title | The Job Title of the Contact |
| Organisation | The Organisation the Contact works for. Can be linked to an Organisation record |
| Rating | The Rating of the Contact. Can be used to denote the importance of the Contact. You can add or edit the available Contact Ratings via the System Tables drop-down option versaCRM - Ratings. |
| Contact Type | The Contact's Type, can be used to denote the relationship to the Contact e.g. Supplier/Customer You can add or edit the available Contact Types via the System Tables drop-down option versaCRM - Contact Types. |
| Classification | There are 10 Levels of Classification that pair with the Category and Sub-Category drop-downs. Allowing you to set multiple Classifications for Contacts. |
| Category | The Category of the Contact, can be used for further classification. You can add or edit the available Categories. |
| Sub-Category | The Sub-Category of the Contact, can be used for further classification. You can add or edit the available Categories. |
| Track Name | Allows tracking of the Contact's Name |
| Track Job Title | Allows tracking of the Contact's Job Title |
| Business Address | Displays the Business Address details for the Contact |
| Home Address | Displays the Home Address details for the Contact |
| This is the mailing address | Allows you to denote which of the Address details (Home Address or Business Address) is the preferred mailing address |
| Street 1 | The Street 1 details of the Contact |
| Street 2 | The Street 2 details of the Contact |
| Street 3 | The Street 3 details of the Contact |
| City / Suburb | The City / Suburb of the Contact |
| Country / Region | The Country / Region of the Contact The default value for this field can be changed by updating the Global Settings Application Property DefaultCountryName. |
| State / Province | The State / Province of the Organisation. The default value for this field can be changed by updating the Global Settings Application Property DefaultStateName. |
| Zip / Postal Code | The Zip / Postal Code of the Contact |
| Phone 1 | The Phone 1 of the Contact |
| Phone 2 | The Phone 2 of the Contact |
| Mobile | The Mobile of the Contact |
| Fax 1 | The Fax 1 of the Contact |
| Fax 2 | The Fax 2 of the Contact |
| Email 1 | The Email 1 of the Contact |
| Email 2 | The Email 2 of the Contact |
| Email 3 | The Email 3 of the Contact |
| Website 1 | The Website 1 of the Contact |
| Website 2 | The Website 2 of the Contact |
| Link against organisation | Allows you to link the address to the Organisation record within the Organisation field |
The icon functionality available is as follows:
| Icon | Description |
|---|---|
Business Details  |
Opens the Business Details screen, here you can enter further information for the Contact |
Organisation Selection  |
Shows the list of current Organisations allowing you to select one and auto-fill certain data |
Contact Category Classification  |
Shows the current classification(s) set for the Contact |
Details
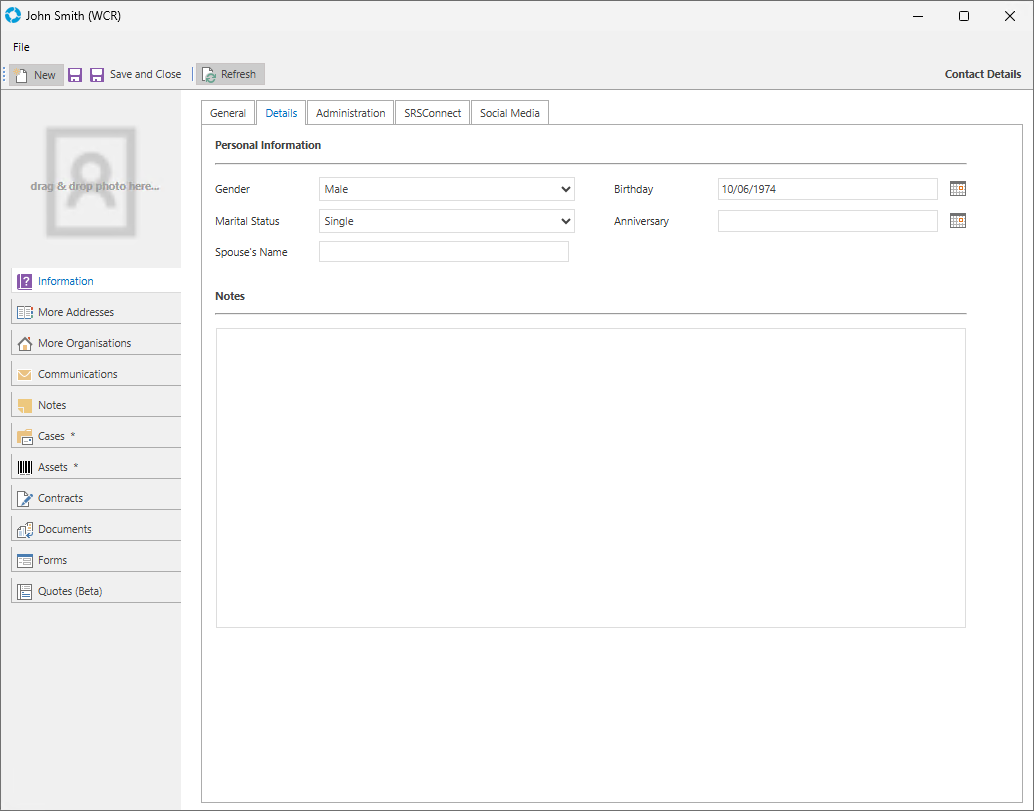
Here you can enter personal information and notes about the Contact.
The fields/controls available in the Details tab are as follows:
| Field/Control | Purpose |
|---|---|
| Gender | The Gender of the Contact |
| Marital Status | The marital Status of the Contact |
| Spouse's Name | The Name of the Contact's Spouse |
| Birthday | The Contact's Birthdate. This will be displayed in the Events calendar. |
| Anniversary | The Contact's Anniversary. This will be displayed in the Events calendar. |
| Notes | Space to store additional information about the Contact |
Administration
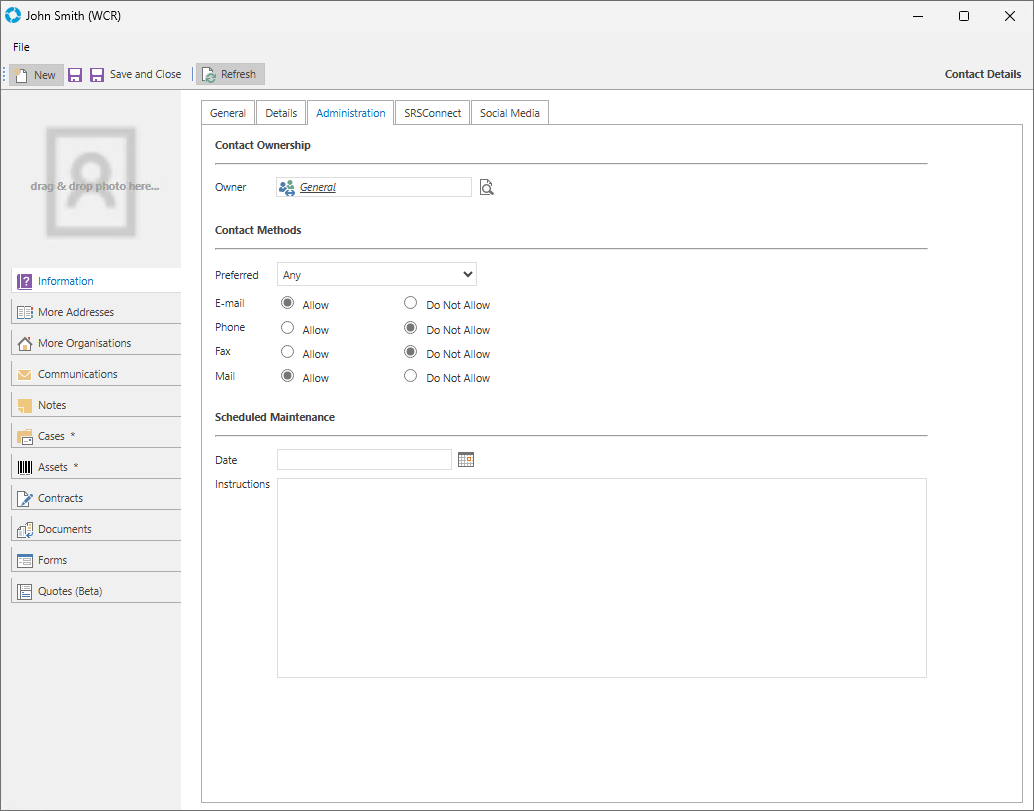
Here you can set the Contact Ownership, Contact Methods, and Scheduled Maintenance.
The fields/controls available in the Administration tab are as follows:
| Field/Control | Purpose |
|---|---|
| Owner | Sets the versaCRM - Security Profile(s) a User must be assigned to manage the Contact |
| Preferred | Specifies the preferred Contact Method of the User from the allowed values below |
| Denotes whether this Contact is to be sent communications via this method or not | |
| Phone | Denotes whether this Contact is to be sent communications via this method or not |
| Fax | Denotes whether this Contact is to be sent communications via this method or not |
| Denotes whether this Contact is to be sent communications via this method or not | |
| Date | Sets the date for the Scheduled Maintenance of this Contact. This will be displayed in the Events calendar. |
| Instructions | Instructions for the Scheduled Maintenance |
SRSConnect
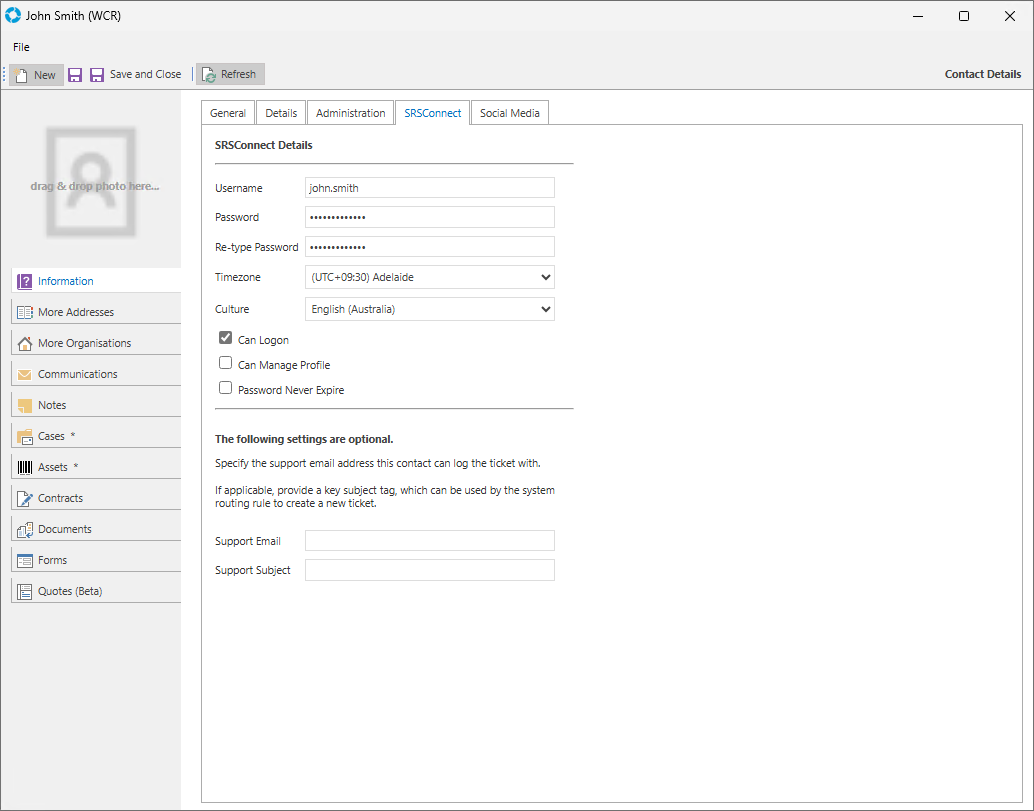
Here you can configure the Contact to be able to logon to SRSConnect.
The fields/controls available in the SRSConnect tab are as follows:
| Field/Control | Purpose |
|---|---|
| Username | The Username for the Contact that allows them access to SRSConnect |
| Password | The Password for the Contact that allows them access to SRSConnect |
| Re-type Password | Must enter the password here as well so the Password will be compared to this value. If they do not match, a small red x will appear next to this field when you click out of the textbox. |
| Timezone | Allows SRSConnect to be displayed to the Contact using the Time zone they live in |
| Culture | Controls the formatting of displayed date and time values in SRSConnect |
| Can Logon | Controls whether the Contact is allowed to login to SRSConnect |
| Can Manage Profile | Allows the Contact to access and change things within their User Profile in SRSConnect |
| Password Never Expire | Negates the SRSConnect Global Setting PasswordExpiryDays and prevents the password from expiring |
| Support Email | Set a specific email address this Contact will send an email to that logs a Case in versaSRS |
| Support Subject | Allows you to specify a Subject for any SRSConnect requests from this Contact; this can be used by the Routing Rules to control how the Case is logged. |
Social Media
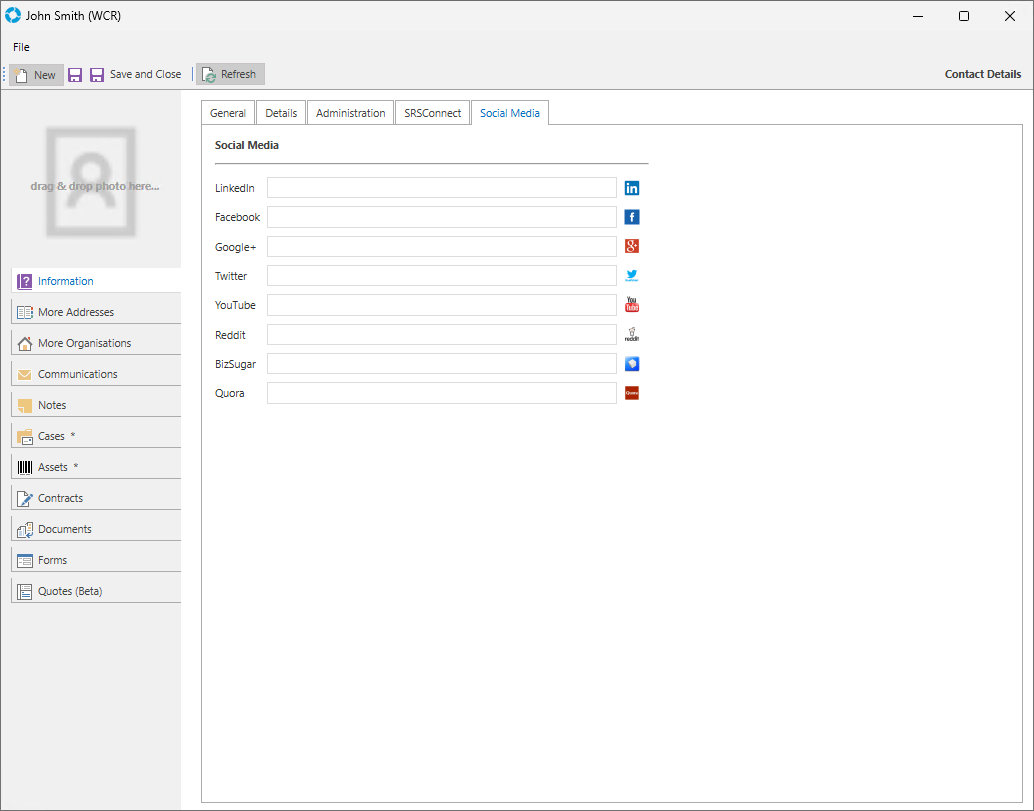
Under the Social Media tab you can add social media links.
More Addresses
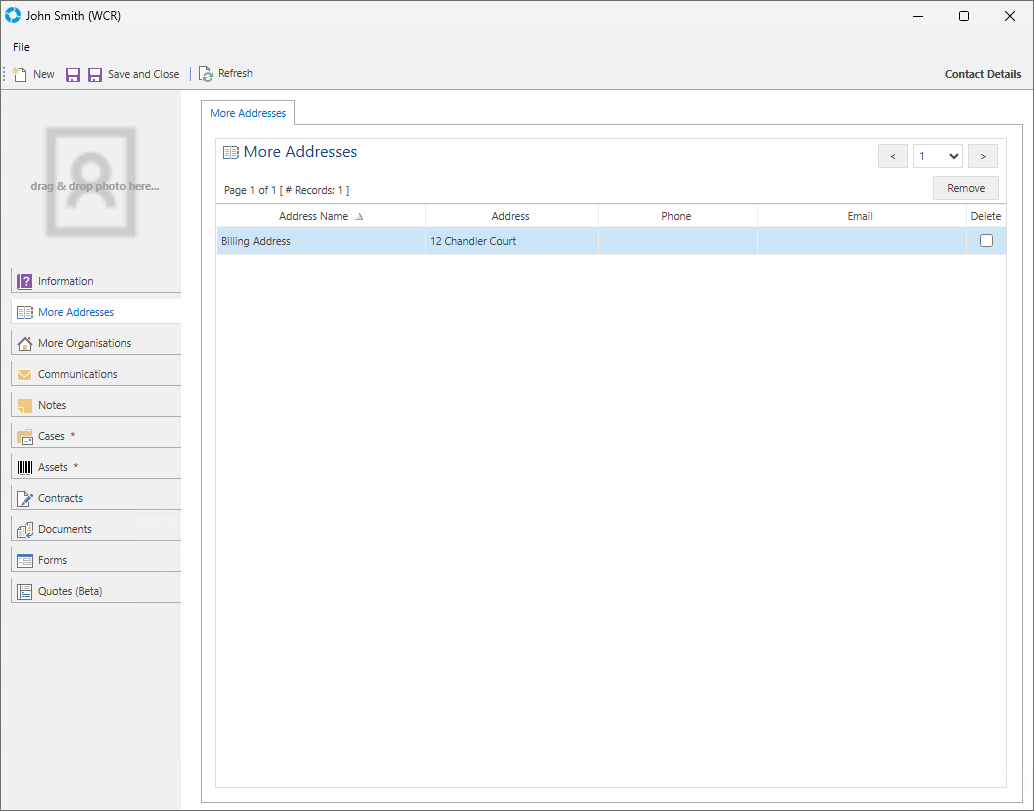
In the More Addresses section you can add multiple addresses to a Contact. To add a new address select the 'New' icon ( ) located on the top left side of the screen.
More Organisations
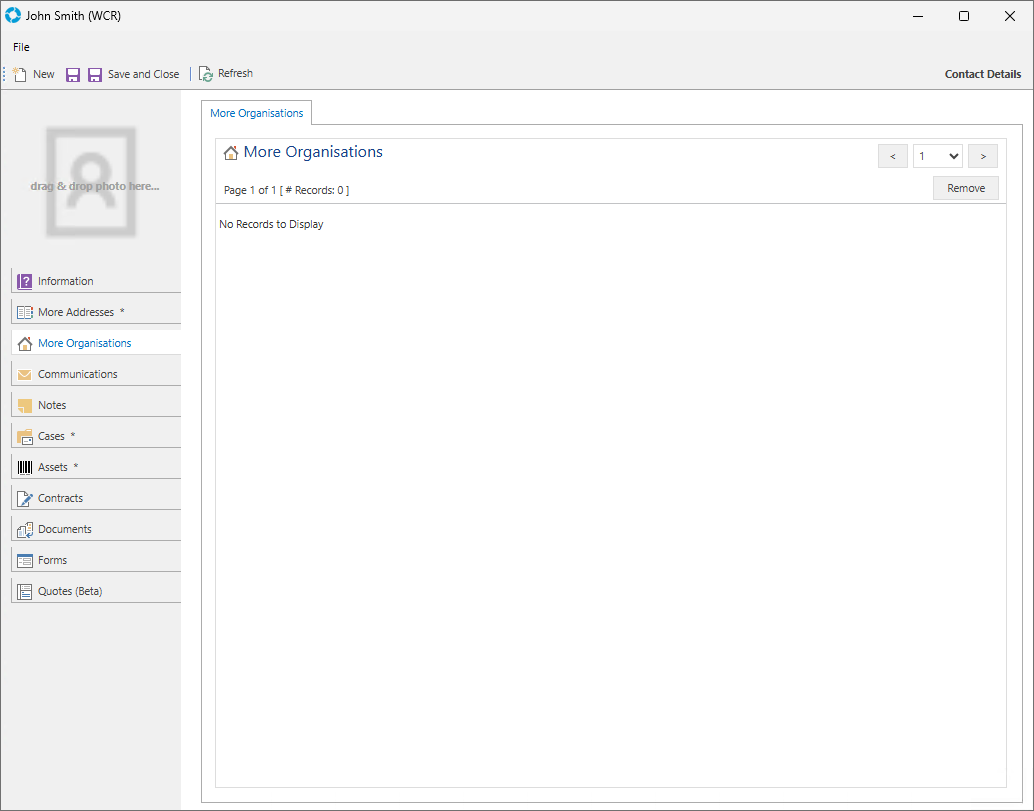
In the More Organisations section you can add multiple Organisations to a Contact. To add a new Organisation select the 'New' ( ) icon located on the top left side of the screen.
Communications
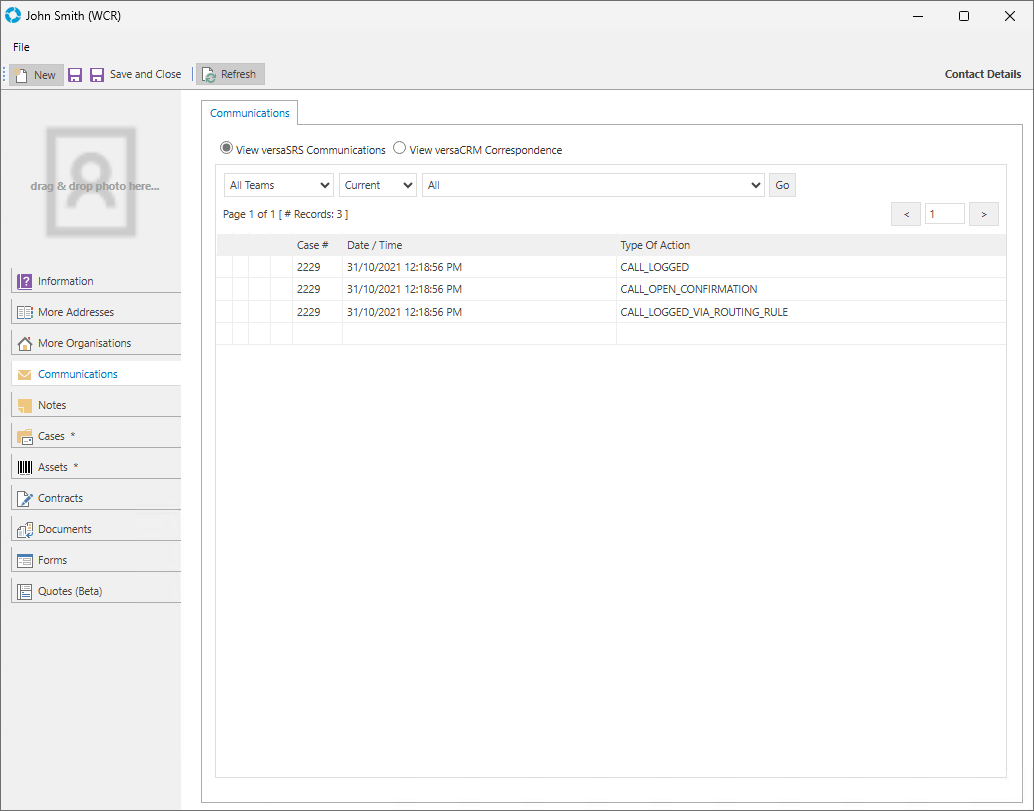
Here you can view the versaSRS and versaCRM Communications that relate to the Contact.
The fields/controls available in the Communications section are as follows:
| Field/Control | Purpose |
|---|---|
| View versaSRS Communications | If selected, will display versaSRS Audit logs that relate to the Contact |
| View versaCRM Correspondence | Shows any Correspondence received or sent by the Contact |
| All Teams | Drop-down list of available Teams in versaSRS, allows you to filter the entries for a specific Team. Not displayed when 'View versaCRM Correspondence' selected. |
| Current | Drop-down list of available Statuses in versaSRS, allows you to filter the entries for a specific Status. Not displayed when 'View versaCRM Correspondence' selected. |
| All | Drop-down list of Audit log options, allows you to filter the entries for a specific Type of Action. Not displayed when 'View versaCRM Correspondence' selected. |
Notes
In the Notes section you can add notes to the Contact. To add a new Note select the 'New' icon ( ) located on the top left side of the screen.
Cases
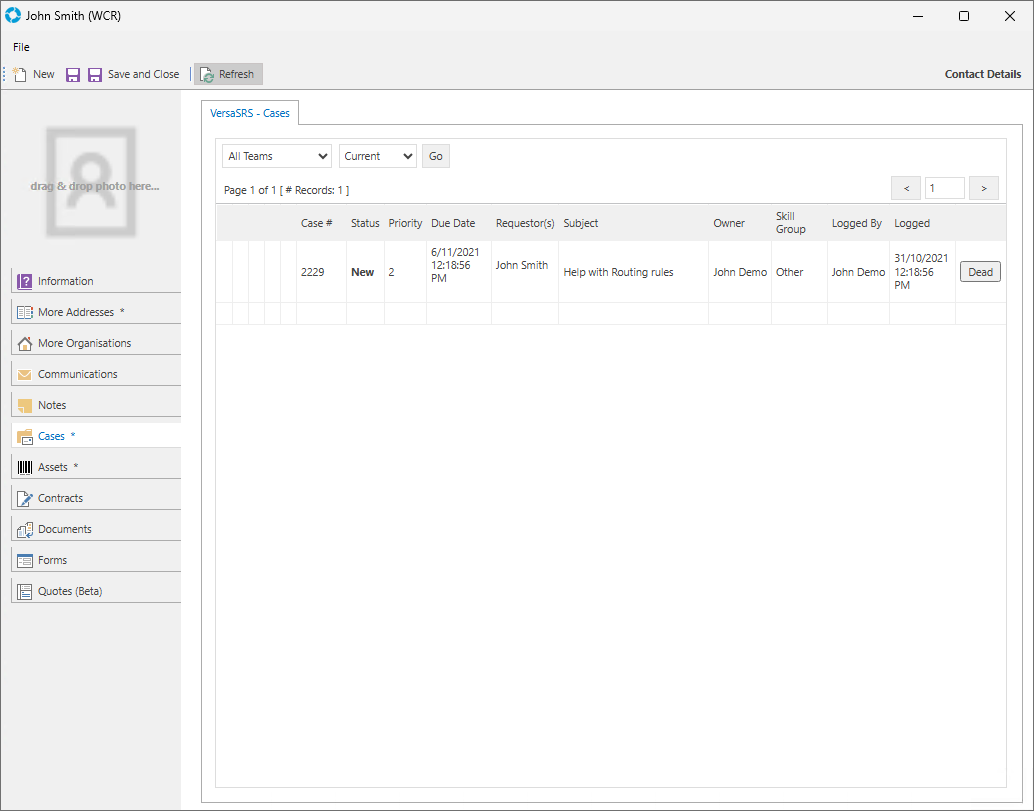
Here you can view Cases that have been raised by the Contact.
The fields/controls available in the Cases section are as follows:
| Field/Control | Purpose |
|---|---|
| All Teams | Drop-down list of available Teams in versaSRS, allows you to filter the Cases by Team |
| Current | Drop-down list of available Statuses in versaSRS, allows you to filter the Cases by Status |
Assets
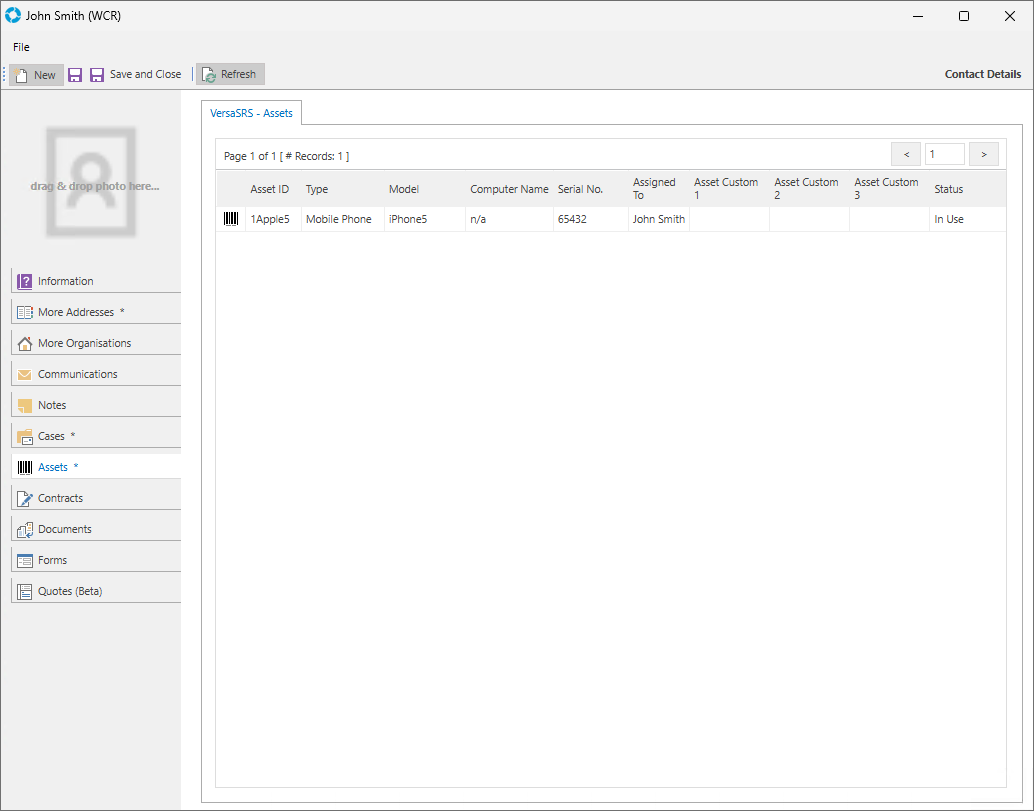
In the Assets section you can view Assets that are assigned to the Contact.
Contracts
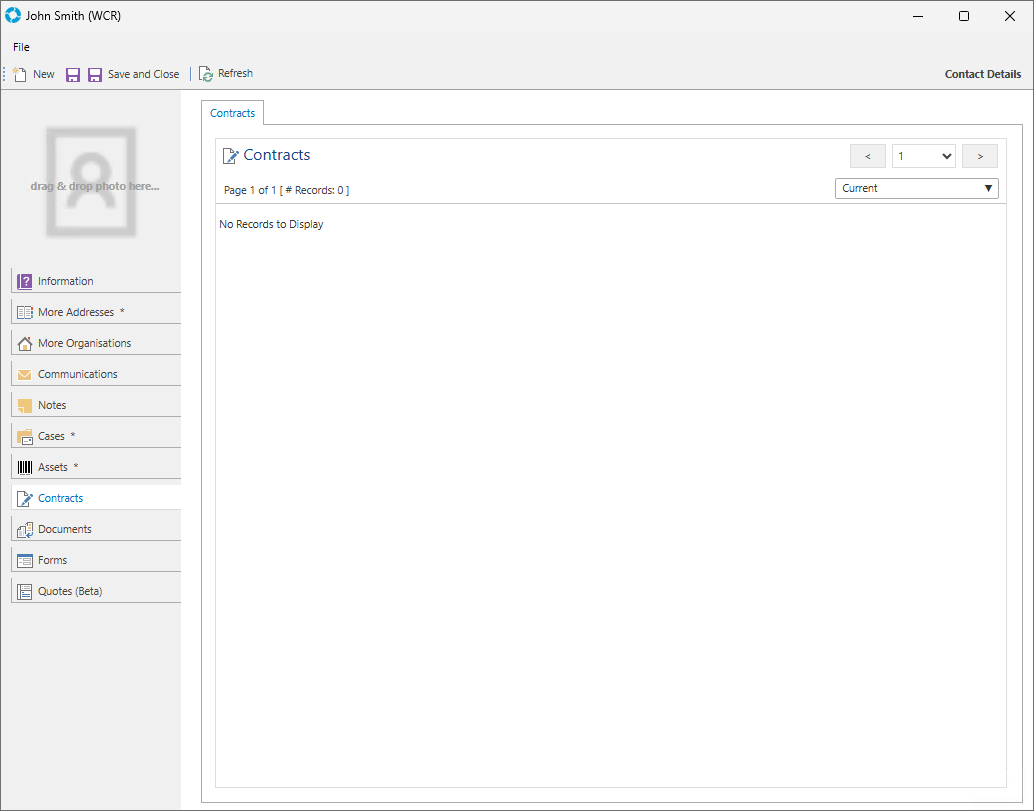
In the Contracts section you can view the existing Contracts for the Contact. To create a new Contract against the Contact select the 'New' icon ( ) located on the top left side of the screen.
Documents
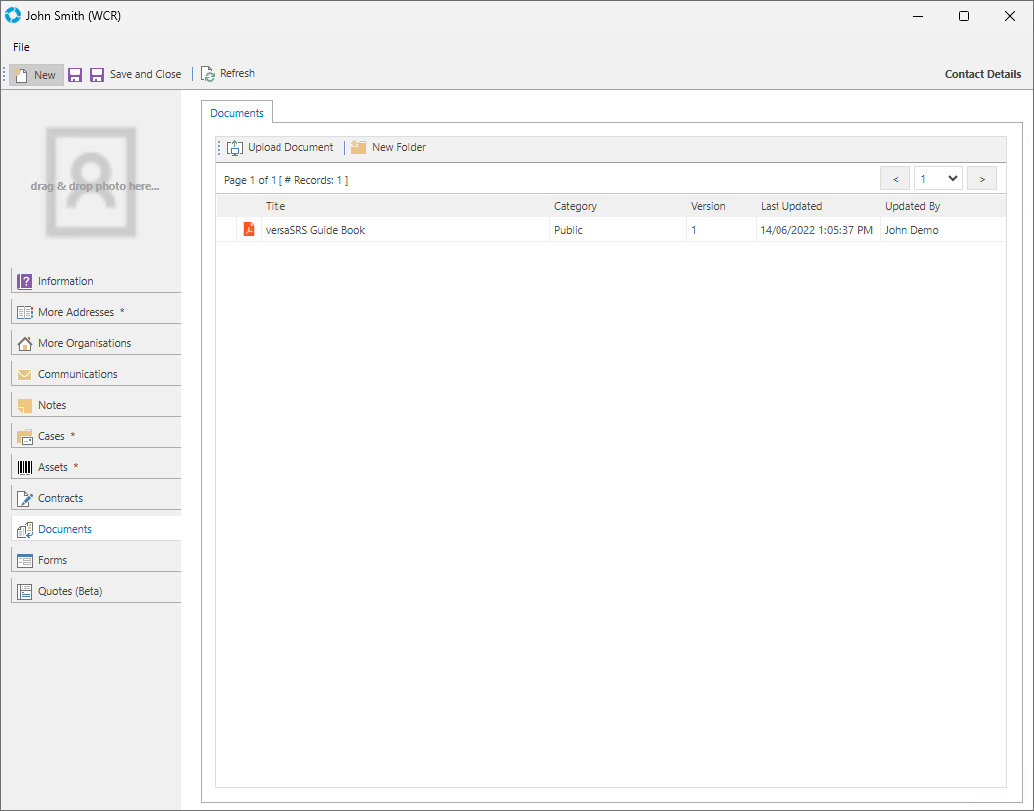
Here you can view Documents that have been made available to the Contact. There is a Right-Click Menu available for further Document management.
The fields/controls available in the Documents section are as follows:
| Field/Control | Purpose |
|---|---|
Upload Document  |
Allows you to add a Document for the Contact |
New Folder  |
Allows you to create a folder to store the Contacts Documents in different directories |
Forms
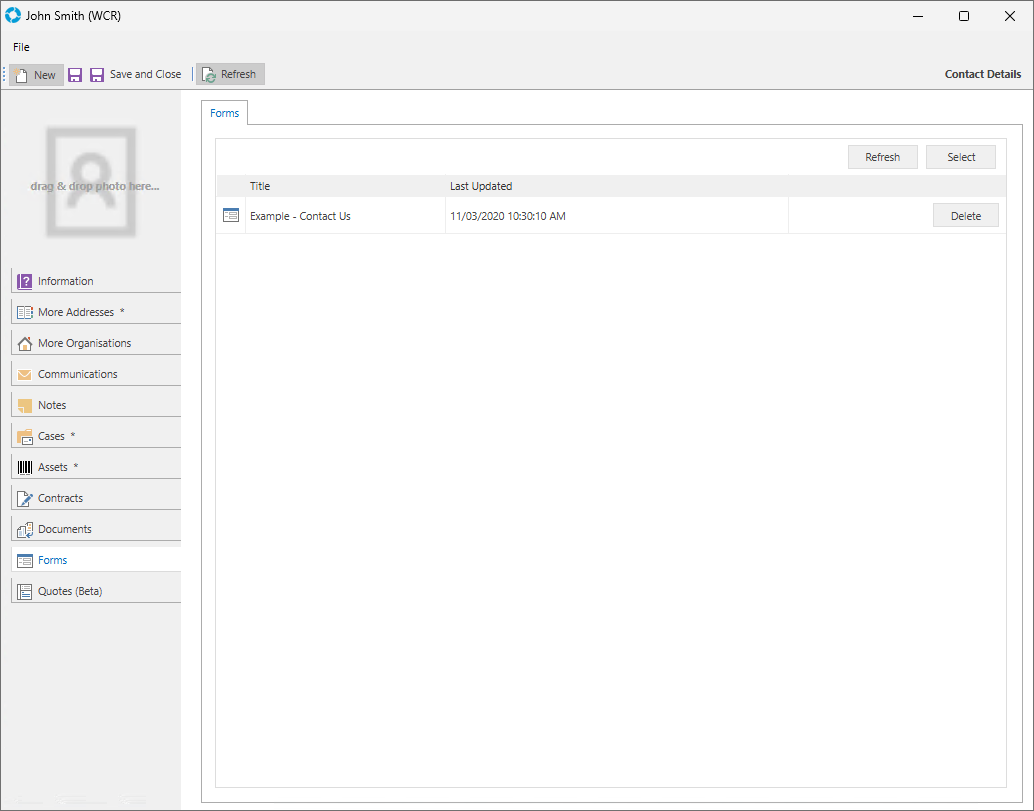
In the Forms section you can view versaForms that have been assigned to the Contact. To add a Form click the Select button near the top right corner.
Quotes
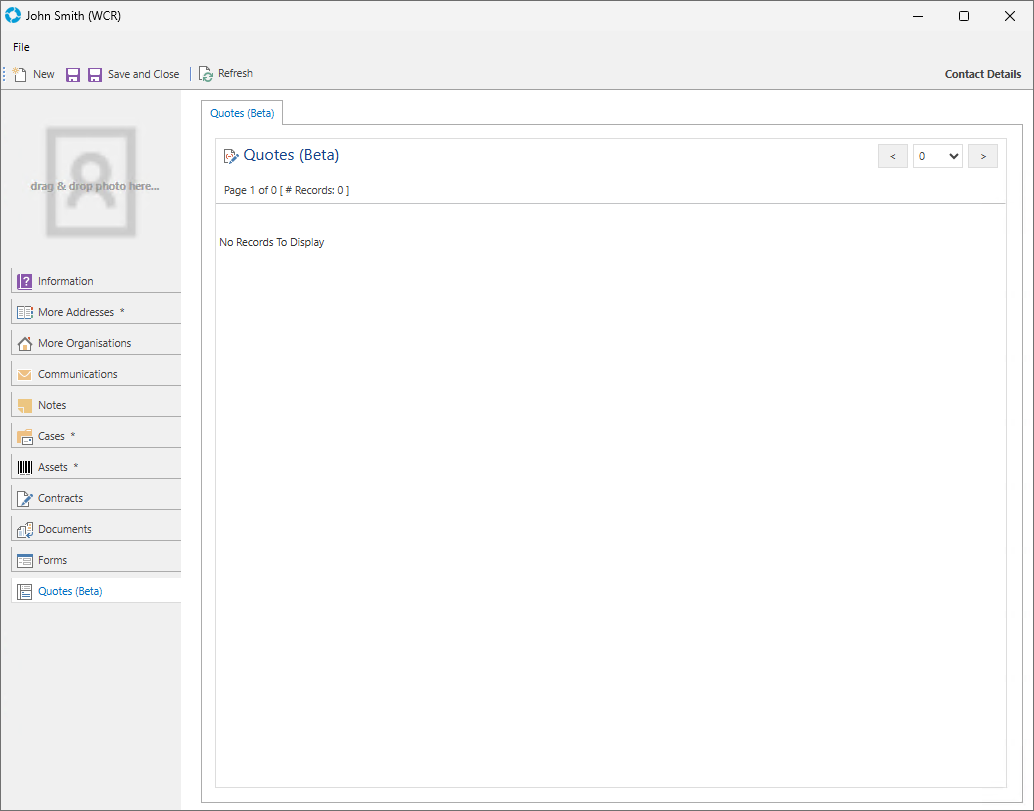
In the Quotes section you can view and create quotes and invoices that can then be converted to PDF format for sending. To create a new Quote for the Contact select the 'New' icon ( ) located on the top left side of the screen.