Classic Surveys
Video Tutorial
Overview
Surveys allow Users to build customised surveys and apply them as a hyperlink within a Case Update. The link can be sent out to non-users of versaSRS, where they can click on it to display and fill in the Survey. The data submitted by the Surveys can reported on in the Reporting Dashboard.
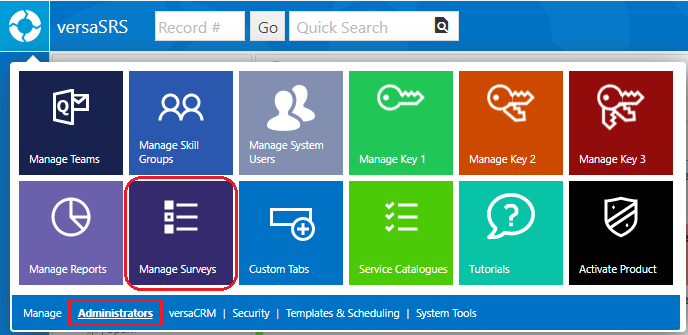
To manage and build Surveys select the Manage Surveys icon from the versaSpinner - Administrators tab.
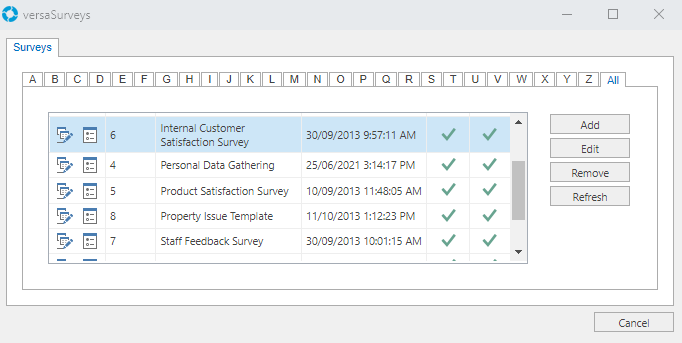
This will display the Survey Manager screen where Surveys can be added, edited and deleted.
Note: This is the classic Survey builder, if this is not the page that you see please refer to the versaForms Overview and versaForm Controls pages for information on creating a Survey.
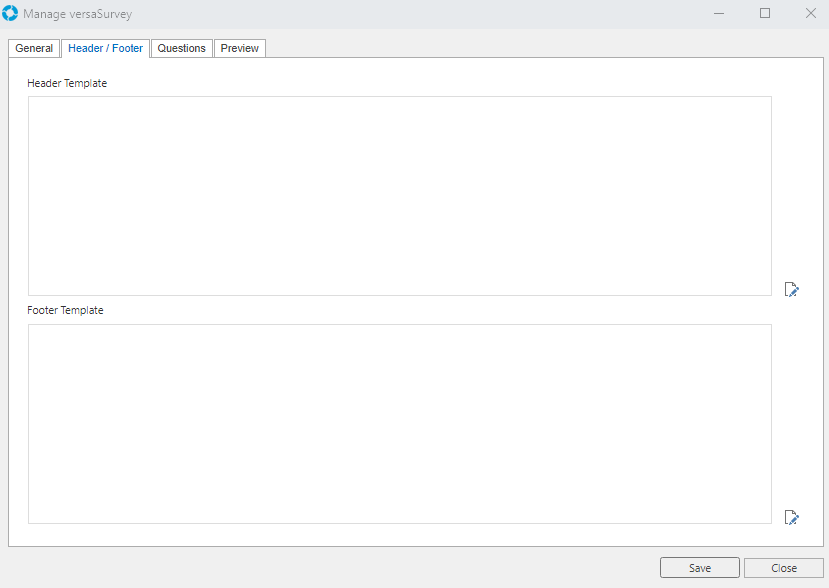
When creating new or editing existing Surveys, the Manage Survey screen is displayed. For the Survey to be active the Publish checkbox must be ticked.

The Header / Footer tab allows an HTML header and footer to be added to the Survey.
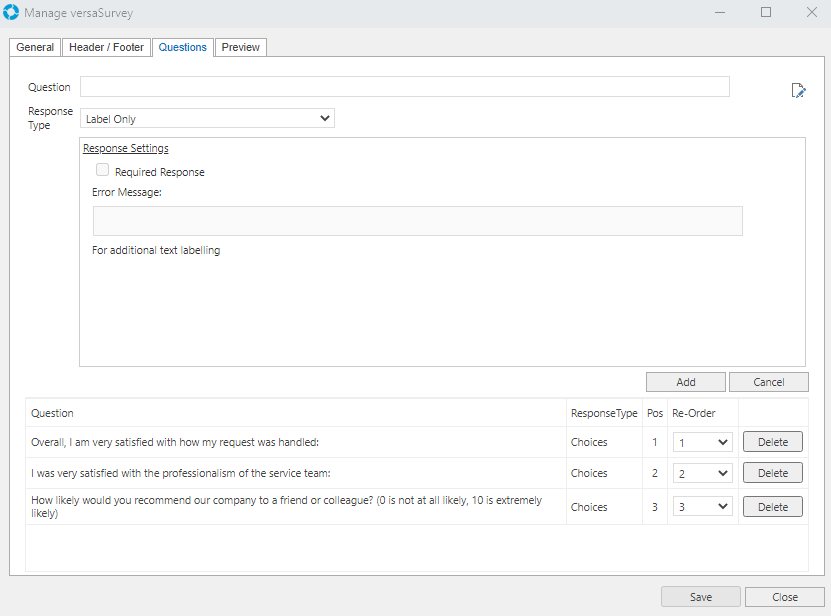
The Questions tab is where the Survey items are added to the Survey. A question can be typed in and then the Response Type selected will determine what kind of input field will be displayed. The order of the questions can be changed by changing the Re-Order drop-down order against each question.
Note: The Question tab is only available once the Survey has been Saved.
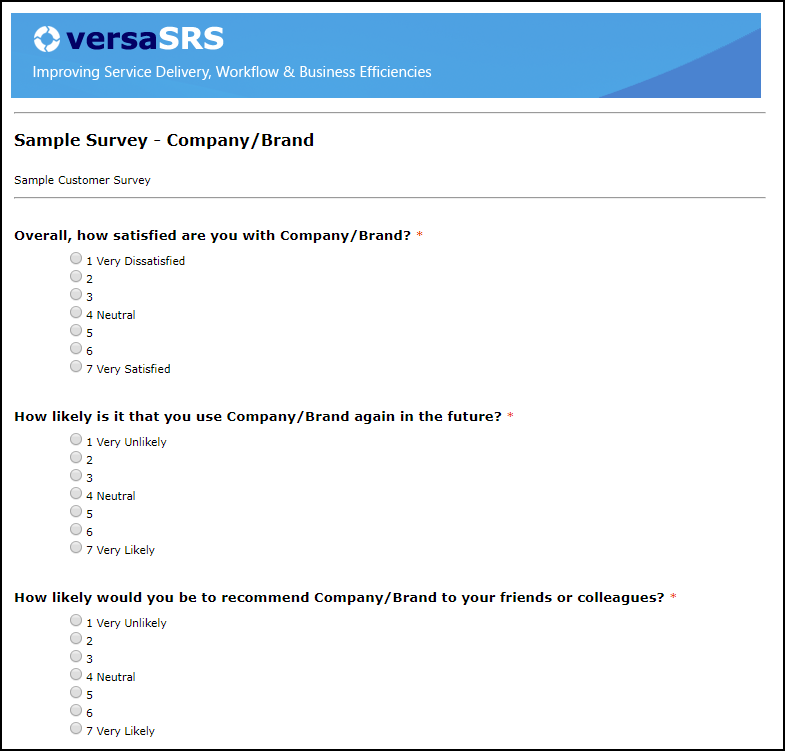
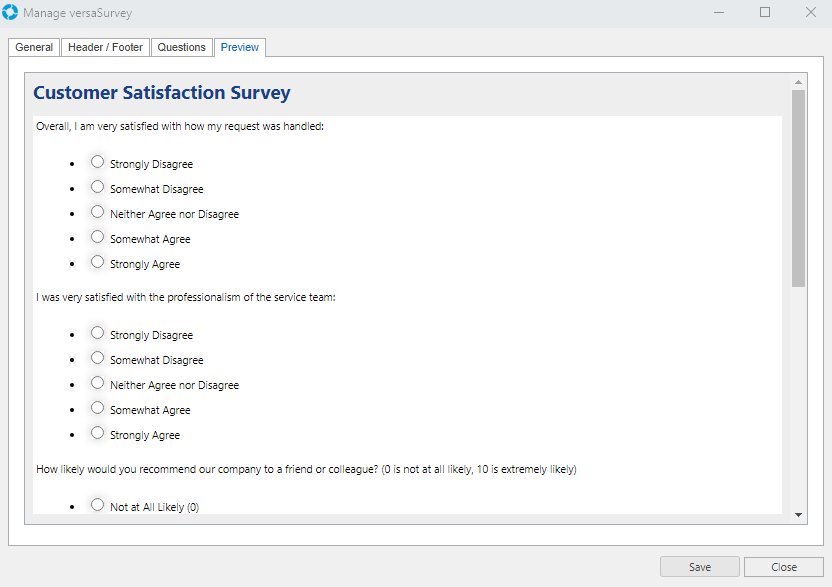
The Preview tab shows a preview of how the Survey will look when it is applied to a Case.
Note: The Preview tab is only available once the Survey has been Saved.
Once a Survey has been created it will be available to apply as a link to a Case Update by clicking the Survey icon on the Update screen. The link can be formatted as desired within the details of the Case Update.
Note: The [CHECKSUM] and [CALLID] System Tags in the link will be changed to the correct values when the Update is saved or sent out as an email.
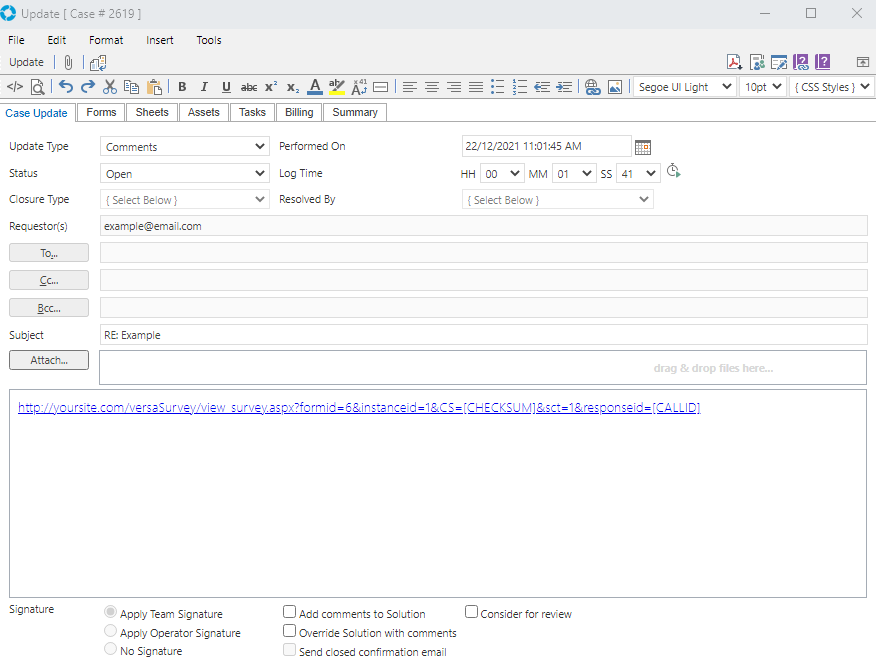
A recipient can open this link, fill in the Survey, and submit it to the database.