SRSConnect Instances
Create a New Instance of SRSConnect
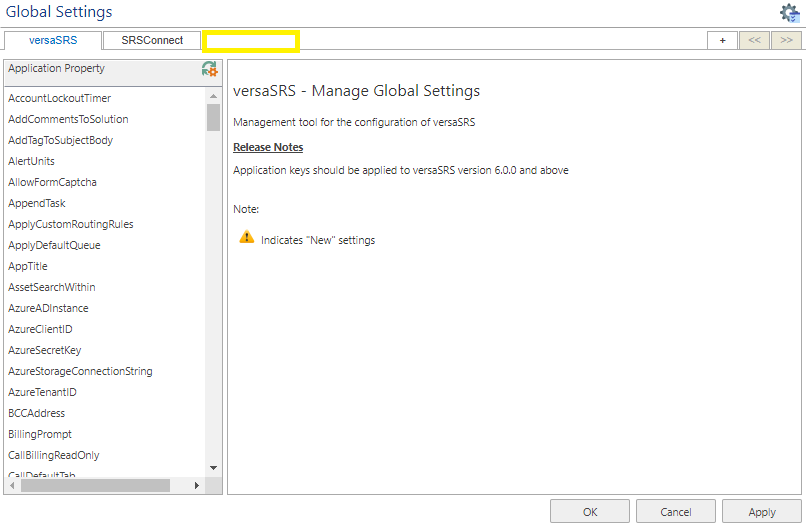
1. Within versaSRS select the versaSRS Cog Icon >> Global Settings.

In the top right corner of the screen click the button with the + symbol.

Take note of the instance ID that is displayed.
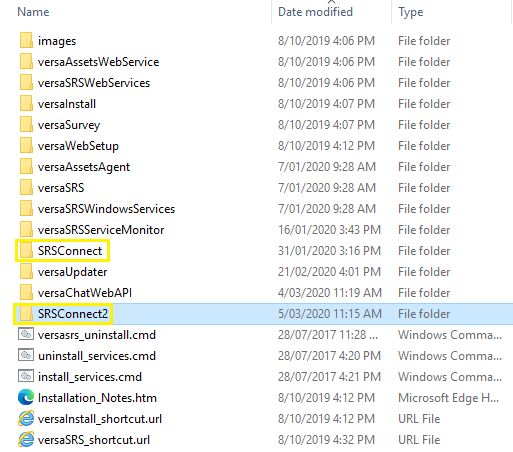
2. Copy the current SRSConnect directory (default location: C:\Program Files (x86)\VersaDev\versaSRS\SRSConnect) and paste it into the same location with a new name (i.e. SRSConnect2).
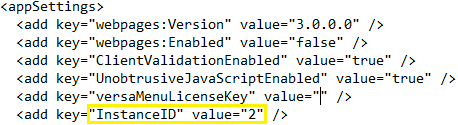
3. Within the newly created SRSConnect directory, access the Web.config file.

Update the InstanceID value to be the same as the instanceID that was created above.
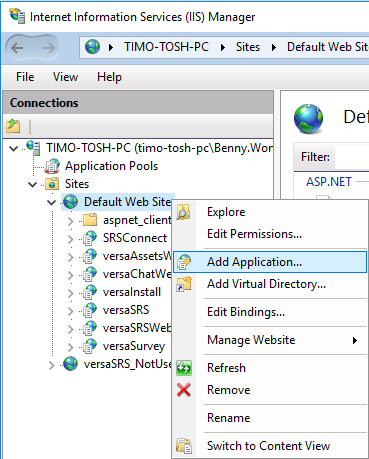
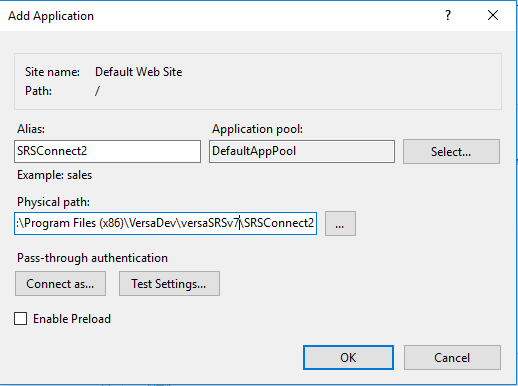
4. Within IIS create a new Application with the same settings as the existing SRSConnect Virtual Directory and ensure the application path is set to point to the newly created SRSConnect directory from step 2. (i.e. SRSConnect2).
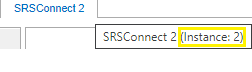
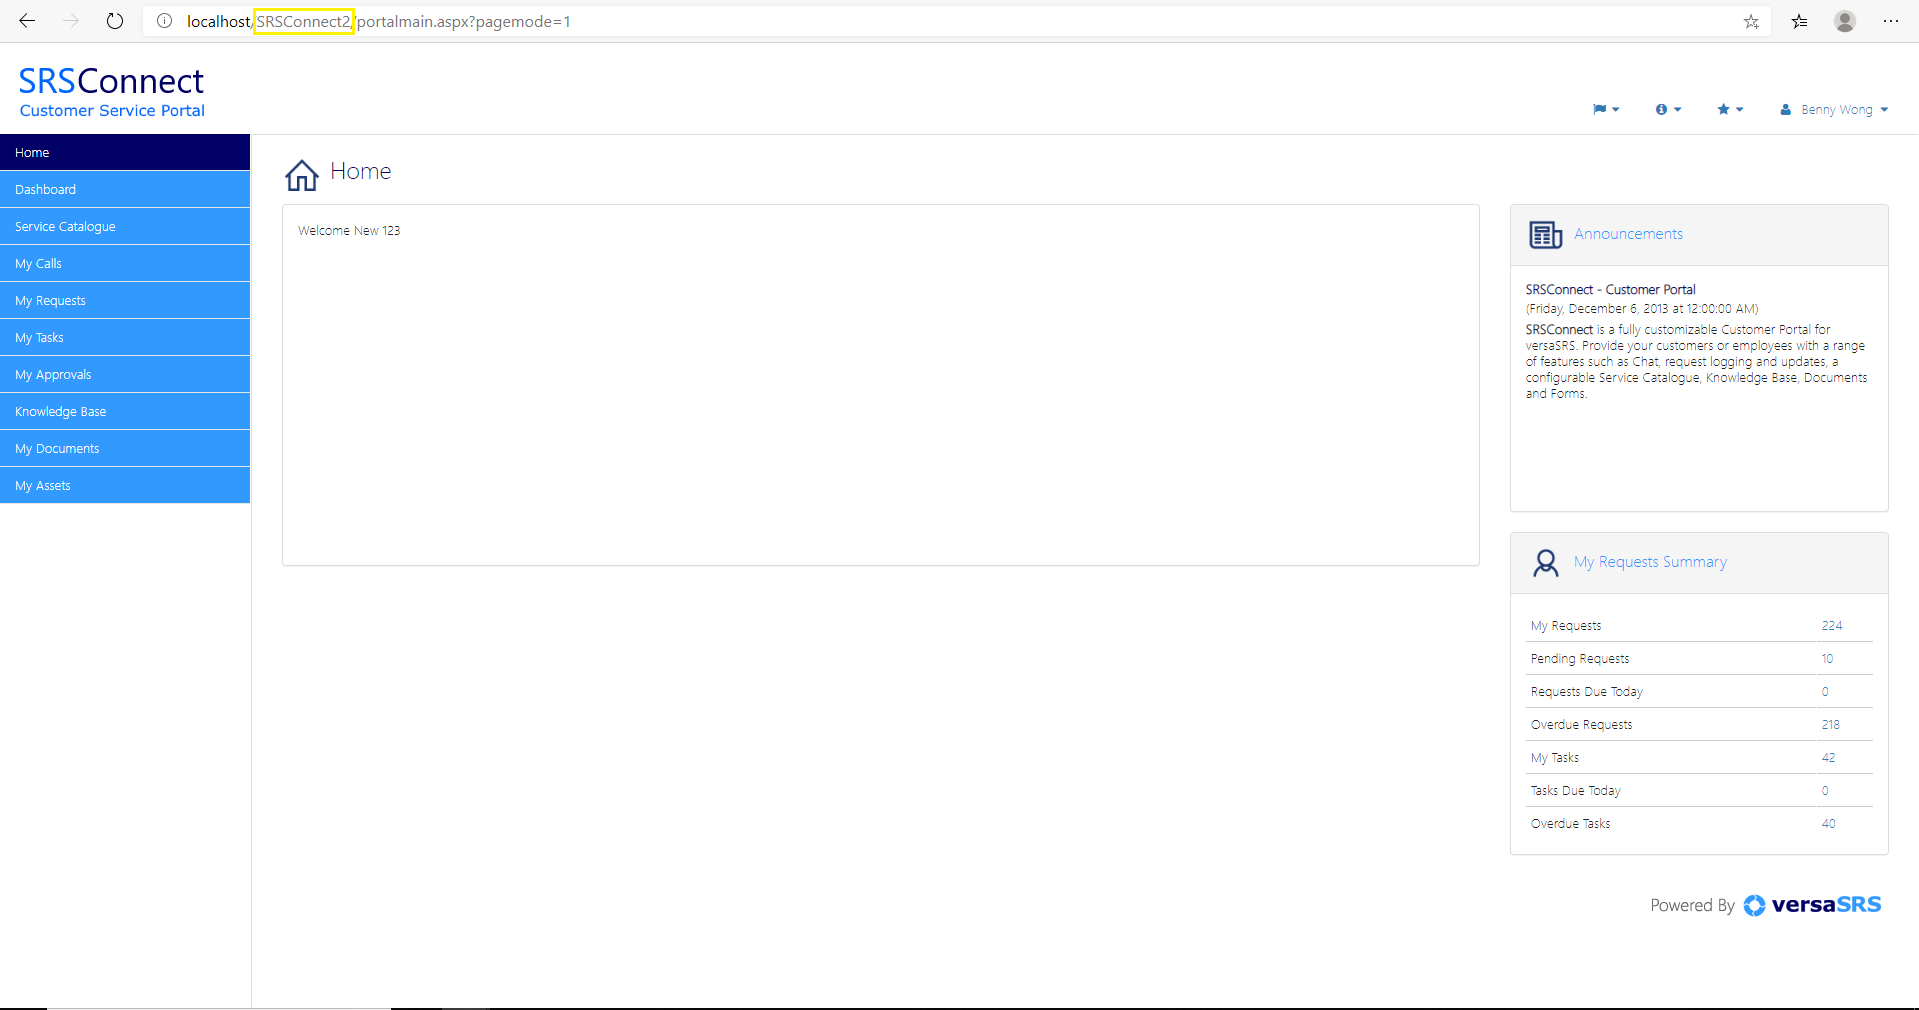
5. Access the New SRSConnect Instance to confirm it was configured successfully.
Remove an Instance of SRSConnect
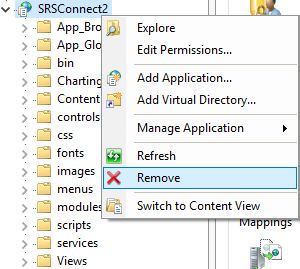
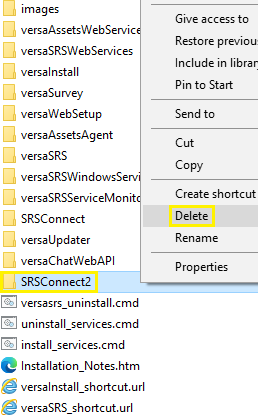
1. Within IIS take note of the folder path for the SRSConnect Application that you wish to remove and then delete it from IIS.
2. In File Explorer, locate (based on the folder path from the above step) and access the Web.config file and take note of the InstanceID value.
Delete the directory for the SRSConnect that you wish to remove.
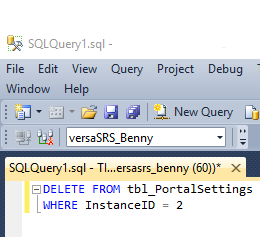
3. Access the versaSRS database and run the below query to delete the Portal Settings (this will also remove the SRSConnect tab for that instance in the Global Settings within versaSRS). Ensure you replace the [InstanceID] tag in the query below with the InstanceID from the Web.config file mentioned in step 2.
Note: We highly recommend performing this in a Test environment before attempting in Production. VersaDev will not be held responsible for any loss of data.
DELETE FROM tbl_PortalSettings
WHERE InstanceID = [InstanceID]
4. Ensure the Global Settings no longer shows the additional SRSConnect Instance.