Reports - Custom HTML Layout for Reports
The Reporting Dashboard supports a custom HTML layout which allows the traditional tabular view to be any kind of view.
A custom layout for a Report is specified within the <CustomLayout></CustomLayout> as shown below in the example Report XML.
Example
<Reporting>
<ReportTitle></ReportTitle>
<ReportHeader></ReportHeader>
<AggregateReports></AggregateReports>
<Parameters>
<StartDate1>true</StartDate1>
<EndDate1>true</EndDate1>
<Queue>true</Queue>
<SkillGroup></SkillGroup>
<User></User>
<CallType></CallType>
<ReceivedBy></ReceivedBy>
<CallStatus></CallStatus>
<Priority></Priority>
<Urgency></Urgency>
<Risk></Risk>
<Key1></Key1>
<Key2></Key2>
<Key3></Key3>
<ProductType></ProductType>
<Product></Product>
<Impact></Impact>
<ServiceArea></ServiceArea>
<SymptomCode></SymptomCode>
<CauseCode></CauseCode>
</Parameters>
<Report>
<Title></Title>
<Query></Query>
<Columns></Columns>
<CustomLayout><![CDATA[<strong>Custom Layout goes here!</strong>]]></CustomLayout>
</Report>
<ReportFooter></ReportFooter>
</Reporting>
Use HTML and CSS to design a custom layout for the Report as desired. Each Column in the Report corresponds to a HEADING and DATA tag that will be replaced with the value in the CustomLayout section.
The following example shows how a Custom Layout can be specified using the tags:
Note: The <![CDATA[]]> tag needs to be used here as the HTML is specified within an XML block.
Example
<Columns>
<column id="1" visible="true">versaSRSMailInDiff</column>
<column id="2" visible="true">versaSRSMailIn</column>
<column id="3" visible="true">versaSRSMailOutDiff</column>
<column id="4" visible="true">versaSRSMailOut</column>
<column id="5" visible="true">versaSRSSchedulerDiff</column>
<column id="6" visible="true">versaSRSScheduler</column>
<column id="7" visible="true">versaCRMMailInDiff</column>
<column id="8" visible="true">versaCRMMailIn</column>
<column id="9" visible="true">versaCRMMailOutDiff</column>
<column id="10" visible="true">versaCRMMailOut</column>
</Columns>
<CustomLayout>
<![CDATA[
<div class="customReportHeading">[REPORT_HEADING]</div>
<div class="winServices">
<div id="divService1">
<div>[HEADING2]</div>
<div class="wsCounter">
</div>
<div style="display:none;">[DATA2],[DATA1]</div>
</div>
<div id="divService2">
<div>[HEADING4]</div>
<div class="wsCounter">
</div>
<div style="display:none;">[DATA4],[DATA3]</div>
</div>
<div id="divService3">
<div>[HEADING6]</div>
<div class="wsCounter">
</div>
<div style="display:none;">[DATA6],[DATA5]</div>
</div>
<div id="divService4">
<div>[HEADING8]</div>
<div class="wsCounter">
</div>
<div style="display:none;">[DATA8],[DATA7]</div>
</div>
<div id="divService5">
<div>[HEADING10]</div>
<div class="wsCounter">
</div>
<div style="display:none;">[DATA10],[DATA9]</div>
</div>
</div>
]]>
</CustomLayout>
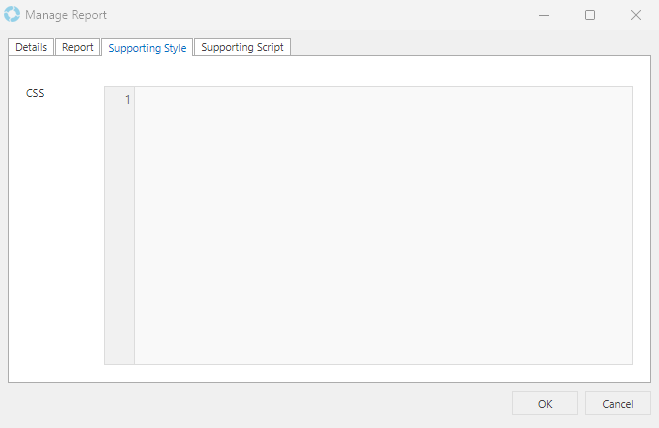
The supporting CSS classes for the Custom Layout can be specified in the Supporting Style tab on the Manage Report screen.

Custom Scripts can also be used within the Reporting Dashboard together with the Custom Layout to create flexible and dynamic Reporting Dashboard designs.
